Elaine Marmel - QuickBooks Online For Dummies
Здесь есть возможность читать онлайн «Elaine Marmel - QuickBooks Online For Dummies» — ознакомительный отрывок электронной книги совершенно бесплатно, а после прочтения отрывка купить полную версию. В некоторых случаях можно слушать аудио, скачать через торрент в формате fb2 и присутствует краткое содержание. Жанр: unrecognised, на английском языке. Описание произведения, (предисловие) а так же отзывы посетителей доступны на портале библиотеки ЛибКат.
- Название:QuickBooks Online For Dummies
- Автор:
- Жанр:
- Год:неизвестен
- ISBN:нет данных
- Рейтинг книги:3 / 5. Голосов: 1
-
Избранное:Добавить в избранное
- Отзывы:
-
Ваша оценка:
QuickBooks Online For Dummies: краткое содержание, описание и аннотация
Предлагаем к чтению аннотацию, описание, краткое содержание или предисловие (зависит от того, что написал сам автор книги «QuickBooks Online For Dummies»). Если вы не нашли необходимую информацию о книге — напишите в комментариях, мы постараемся отыскать её.
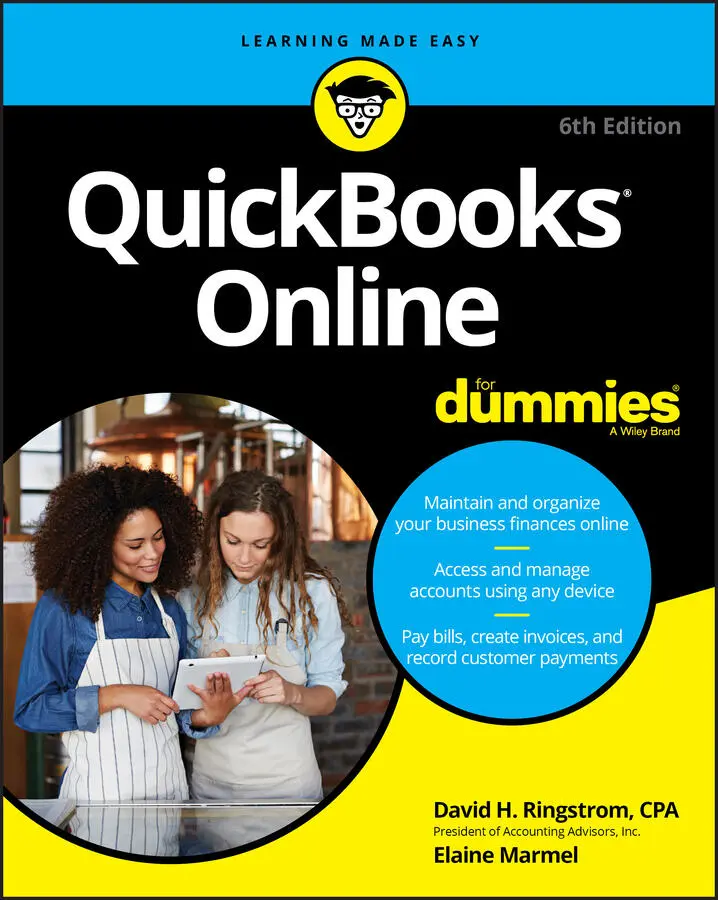
QuickBooks Online For Dummies
6
th
Edition
Whether you’re a QuickBooks Online newbie or seasoned pro, you’ll find actionable and accessible advice in this new edition. Get tips on:
· Creating invoices and credit memos
· Recording sales receipts
· Recording and paying bills
· Setting up inventory items
· Tracking business checkbook and credit cards
· And more
No longer will you have to struggle through your interactions with the most used bookkeeping and accounting software in the world. Master this technology with the straightforward and accessible approach made famous by the
series.
QuickBooks Online For Dummies — читать онлайн ознакомительный отрывок
Ниже представлен текст книги, разбитый по страницам. Система сохранения места последней прочитанной страницы, позволяет с удобством читать онлайн бесплатно книгу «QuickBooks Online For Dummies», без необходимости каждый раз заново искать на чём Вы остановились. Поставьте закладку, и сможете в любой момент перейти на страницу, на которой закончили чтение.
Интервал:
Закладка:
7 Chapter 7FIGURE 7-1: Use the Chart of Accounts page to open a particular account’s regis...FIGURE 7-2: A typical bank account register.FIGURE 7-3: A bank account register in Paper Ledger mode.FIGURE 7-4: Resizing a column.FIGURE 7-5: A register displaying one line for each transaction.FIGURE 7-6: Select the type of transaction you want to enter.FIGURE 7-7: Entering a sales receipt in a bank account register.FIGURE 7-8: Sorting transactions by date, from latest to earliest, is the defau...FIGURE 7-9: Displaying available filters.FIGURE 7-10: A list of transactions QBO found based on criteria specified in th...FIGURE 7-11: Printing a register.
8 Chapter 8FIGURE 8-1: Drag accounts to place them in the order you want.FIGURE 8-2: The dialog box you use to create an account.FIGURE 8-3: Identify your financial institution.FIGURE 8-4: Select the accounts you want to connect to QBO and their types.FIGURE 8-5: After connecting an account, the Banking page displays connected ac...FIGURE 8-6: Click the arrow beside the Link Account button and select Upload fr...FIGURE 8-7: Use this screen to navigate to the transactions you downloaded from...FIGURE 8-8: Select the account where QBO should place the transactions from you...FIGURE 8-9: Match QBO fields to the fields in your CSV file.FIGURE 8-10: You can use artificial intelligence to upload receipts or bills in...FIGURE 8-11: QBO allows you to review uploaded receipts or bills before you com...FIGURE 8-12: Use this page to specify how QBO should handle each downloaded tran...FIGURE 8-13: The Category or Match column and the Action column help you identi...FIGURE 8-14: When you click a transaction that displays the Add link in the Act...FIGURE 8-15: The transaction details QBO displays when you click a transaction ...FIGURE 8-16: The Bank Rules page.FIGURE 8-17: The Rule dialog box, where you set the information you want QBO to...FIGURE 8-18: Provide the information QBO should use on transactions that meet t...FIGURE 8-19: Use the Categorized tab to find transactions you’ve accepted into ...FIGURE 8-20: Use the Bank Deposit window to select payment transactions to depo...FIGURE 8-21: Enter information found on your bank statement.FIGURE 8-22: Match transactions found on your bank statement with those shown o...FIGURE 8-23: The goal of reconciliation is to make the Difference amount equal ...FIGURE 8-24: A typical Reconciliation report.FIGURE 8-25: Prior Reconciliation reports you can view.
9 Chapter 9FIGURE 9-1: Choosing an option for payroll.FIGURE 9-2: The Payroll Setup wizard helps you add current employees.FIGURE 9-3: Fill in the basic information about the employee.FIGURE 9-4: A typical pay schedule.FIGURE 9-5: Information required to complete a Federal Form W-4.FIGURE 9-6: Add or edit employees.FIGURE 9-7: The Payroll Settings page.FIGURE 9-8: The To Do list on the Payroll Overview page.FIGURE 9-9: The Federal Tax Info page.FIGURE 9-10: The State Tax Info page.FIGURE 9-11: Use this screen to enter payroll information for your employees.FIGURE 9-12: Reviewing paychecks before generating them.FIGURE 9-13: When you don’t directly deposit paychecks, you’ll see a page like ...FIGURE 9-14: Click the pencil icon in the Pay section to edit pay information.FIGURE 9-15: Click the pencil icon in the withholdings question to edit the emp...FIGURE 9-16: Click Tax Exemptions to determine whether you can manage an employ...FIGURE 9-17: QBOP offers two tabs of human resource–related information.FIGURE 9-18: From the Reports page, scroll down to locate Payroll reports.FIGURE 9-19: The Payroll Tax Center after you have recorded payroll information...FIGURE 9-20: The payroll tax returns QBO files on your behalf appear on the For...FIGURE 9-21: Setting up a new contractor.FIGURE 9-22: Provide the Contractor Type information QBO needs to eventually pr...FIGURE 9-23: Select the boxes on the Form 1099 that apply to the payments you m...FIGURE 9-24: The 1099 Transaction Detail report shows information for 1099-elig...
10 Chapter 10FIGURE 10-1: The Reports page.FIGURE 10-2: Business Overview reports.FIGURE 10-3: The Management Reports page.FIGURE 10-4: Print Preview of a management report.FIGURE 10-5: Searching for a report.FIGURE 10-6: The Transaction report that appears after clicking an income accou...FIGURE 10-7: The General section of the panel you use to customize a report in ...FIGURE 10-8: Use these settings to control the rows and columns that appear on ...FIGURE 10-9: The filtering options you can control on the Profit and Loss repor...FIGURE 10-10: The Header/Footer settings you can customize on the Profit and Lo...FIGURE 10-11: The report after customizing to include % of Income and % of Expe...FIGURE 10-12: Protected View in Microsoft Excel requires you to click Enable Ed...FIGURE 10-13: Use this panel to save a customized report.FIGURE 10-14: The My Custom Reports page after creating a custom report.FIGURE 10-15: Set an email schedule for a report group.
11 Chapter 11FIGURE 11-1: Navigating to the QBOA sign-in page.FIGURE 11-2: Provide requested information to create a QBOA account.FIGURE 11-3: A typical QBOA Home page after creating a QBOA account.FIGURE 11-4: The page you use to sign in to QBOA after you set up a QBOA accoun...FIGURE 11-5: The Clients page of the Your Practice view in QBOA.FIGURE 11-6: The choices available from the Gear menu.FIGURE 11-7: The tools available to accountants while working in a client compa...FIGURE 11-8: View, edit, and add members to your QBOA team.FIGURE 11-9: Specify the new user’s access level to your firm’s administration ...FIGURE 11-10: You can provide a team member access to your firm’s clients on a ...FIGURE 11-11: The Home page of an invited team member who has limited privilege...FIGURE 11-12: Click a QuickBooks logo or use the Go to QuickBooks list to open ...FIGURE 11-13: Control the appearance of the Client List page.FIGURE 11-14: Craig’s Design and Landscaping Services, the QBO and QBOA sample ...FIGURE 11-15: Exit from QBOA by signing out.FIGURE 11-16: Use the Actions column to make a client inactive.
12 Chapter 12FIGURE 12-1: The Gear menu in QBO.FIGURE 12-2: The Manage Users page has two tabs: Users and Accounting Firms.FIGURE 12-3: The client fills in the accountant’s email information.FIGURE 12-4: A sample email an accountant might receive when invited to access ...FIGURE 12-5: A QBOA Client List page after accepting an invitation from a clien...FIGURE 12-6: The Client Contact Information page of the Add Client wizard.FIGURE 12-7: Select Company Admin.FIGURE 12-8: Assigning the role of master administrator to the client.FIGURE 12-9: Check the number of targets in your QuickBooks Desktop company.FIGURE 12-10: Select all update areas.FIGURE 12-11: Select whether you want to overwrite an existing QBO company or c...FIGURE 12-12: This message appears after you finish your part of the export/imp...FIGURE 12-13: A sample of the email message you receive after exporting a deskt...
13 Chapter 13FIGURE 13-1: You can click the QuickBooks logo to the left of the client’s name...FIGURE 13-2: In a QBO client company, the top of the Client Overview page shows...FIGURE 13-3: The Banking Activity section of the Client Overview page.FIGURE 13-4: The Common Issues section of the Client Overview page.FIGURE 13-5: The Transactions section of the Client Overview page.FIGURE 13-6: The Gear menu.FIGURE 13-7: The Account and Settings dialog box for a client QBO company.FIGURE 13-8: Usage limits go into effect in April, 2019.FIGURE 13-9: Review and, if necessary, make changes to settings on the Advanced...FIGURE 13-10: From the Chart of Accounts page, you can add and edit accounts.FIGURE 13-11: The Import Accounts page.FIGURE 13-12: Map the fields in your file to the fields in QBO.FIGURE 13-13: To edit an account, use the down arrow in the Action column.FIGURE 13-14: Use this page to set up account numbers for the Chart of Accounts...FIGURE 13-15: The Customers page.FIGURE 13-16: Use this page to open any list other than the Customers, Vendors,...FIGURE 13-17: Use this page to export rules from one client and import them int...
Читать дальшеИнтервал:
Закладка:
Похожие книги на «QuickBooks Online For Dummies»
Представляем Вашему вниманию похожие книги на «QuickBooks Online For Dummies» списком для выбора. Мы отобрали схожую по названию и смыслу литературу в надежде предоставить читателям больше вариантов отыскать новые, интересные, ещё непрочитанные произведения.


Обсуждение, отзывы о книге «QuickBooks Online For Dummies» и просто собственные мнения читателей. Оставьте ваши комментарии, напишите, что Вы думаете о произведении, его смысле или главных героях. Укажите что конкретно понравилось, а что нет, и почему Вы так считаете.