Eric Butow - MCA Microsoft Office Specialist (Office 365 and Office 2019) Complete Study Guide
Здесь есть возможность читать онлайн «Eric Butow - MCA Microsoft Office Specialist (Office 365 and Office 2019) Complete Study Guide» — ознакомительный отрывок электронной книги совершенно бесплатно, а после прочтения отрывка купить полную версию. В некоторых случаях можно слушать аудио, скачать через торрент в формате fb2 и присутствует краткое содержание. Жанр: unrecognised, на английском языке. Описание произведения, (предисловие) а так же отзывы посетителей доступны на портале библиотеки ЛибКат.
- Название:MCA Microsoft Office Specialist (Office 365 and Office 2019) Complete Study Guide
- Автор:
- Жанр:
- Год:неизвестен
- ISBN:нет данных
- Рейтинг книги:4 / 5. Голосов: 1
-
Избранное:Добавить в избранное
- Отзывы:
-
Ваша оценка:
MCA Microsoft Office Specialist (Office 365 and Office 2019) Complete Study Guide: краткое содержание, описание и аннотация
Предлагаем к чтению аннотацию, описание, краткое содержание или предисловие (зависит от того, что написал сам автор книги «MCA Microsoft Office Specialist (Office 365 and Office 2019) Complete Study Guide»). Если вы не нашли необходимую информацию о книге — напишите в комментариях, мы постараемся отыскать её.
The MCA Microsoft Office Specialist (Office 365 and Office 2019) Complete Study Guide : Word Associate Exam MO-100, Excel Associate Exam MO-200, and PowerPoint Associate Exam MO-300 Discover practical, hands-on exercises that prepare you for real-world roles and jobs, and gain valuable experience as you reinforce key Microsoft Office skills that you’ll be expected to demonstrate in job interviews and your day-to-day professional life. Learn to manage and create text documents in Word, perform operations with formulas in Excel, and create engaging slideshows and presentations in PowerPoint.
This practical book also provides:
Fully updated information for the latest Microsoft Office Specialist certification exams covering Microsoft Office 365 Access to new career opportunities with a professional certification that’s relevant to virtually any office environment Access to the Sybex online study tools, with chapter review questions, full-length practice exams, hundreds of electronic flashcards, and a glossary of key terms
offers crystal-clear organization, comprehensive coverage, and easy-to-understand instruction. It’s perfect for anyone who hopes to prove their skills with the Microsoft Office Specialist certification or to improve their mastery of Microsoft Office 365.
MCA Microsoft Office Specialist (Office 365 and Office 2019) Complete Study Guide — читать онлайн ознакомительный отрывок
Ниже представлен текст книги, разбитый по страницам. Система сохранения места последней прочитанной страницы, позволяет с удобством читать онлайн бесплатно книгу «MCA Microsoft Office Specialist (Office 365 and Office 2019) Complete Study Guide», без необходимости каждый раз заново искать на чём Вы остановились. Поставьте закладку, и сможете в любой момент перейти на страницу, на которой закончили чтение.
Интервал:
Закладка:
You can add space below the introduction by placing your cursor at the end of the introductory text and then pressing Enter as many times as you need or adding space below the paragraph, a task that you learned about earlier in this chapter. Add space between the body text and conclusion by placing the cursor at the beginning of the conclusion text and then pressing Enter or adding space above the paragraph.
Be careful, though, to keep all your text on one page. As you type in the second column of body text, you see the text that follows pushed down, perhaps to the next page. And as you type text in the introduction, then the body text and conclusion will be pushed farther down on the page.
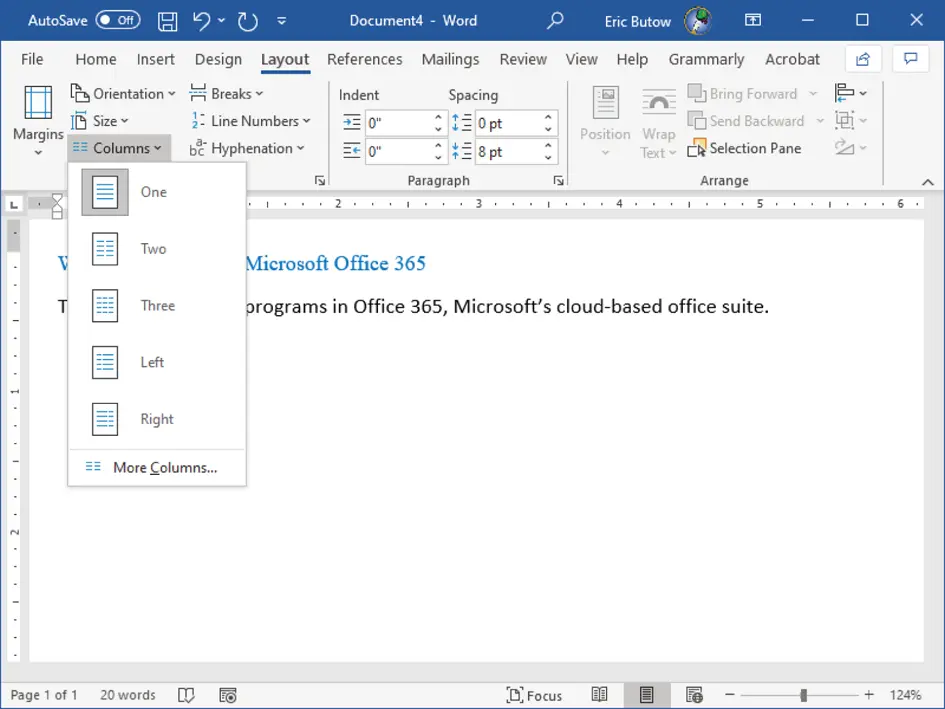
FIGURE 2.11Columns menu
Inserting Page, Section, and Column Breaks
Word makes it easy to insert the page, section, or column break you need. Start by clicking the cursor at the place in your document where you want to add the break. In the Layout ribbon, click the Breaks icon in the Page Setup area, as shown in Figure 2.12.
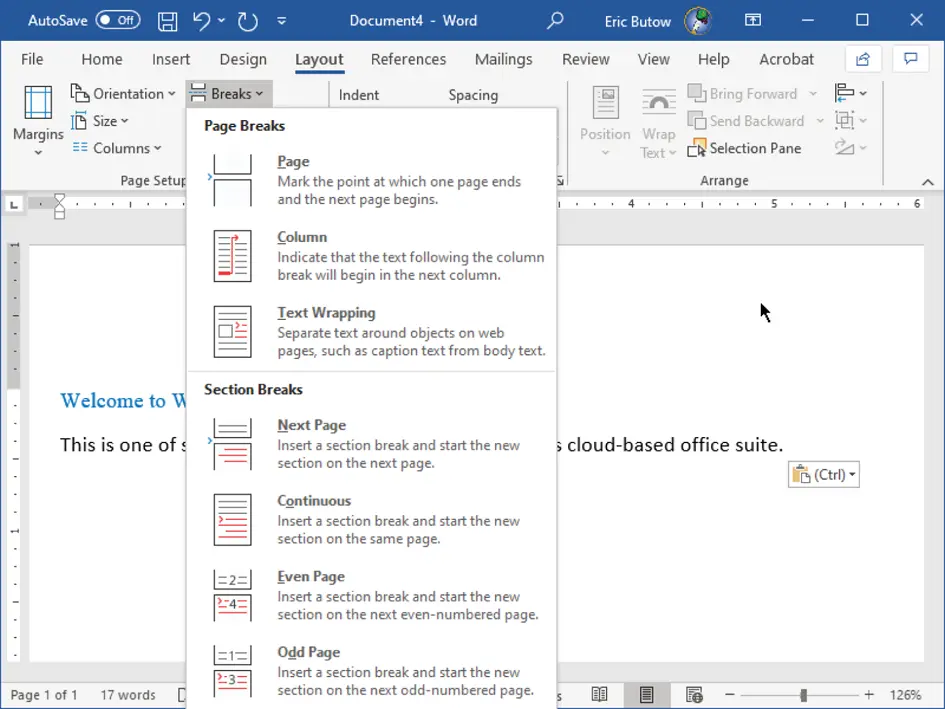
FIGURE 2.12Breaks icon
In the drop‐down menu, click one of the following options:
Page: Use this option to leave the rest of the current page blank and enter new text on the next page.
Column: Select this option to have text following the current column continue in the next column.
Text Wrapping: Choose this option to wrap text around objects on a page, such as body text around a picture and its associated caption.
Next Page: Use this option to end the current section and create a new section on the next page.
Continuous: Select this option to end the current section and create a new section on the same page.
Even Page: Choose this option to end the current section and create a new section on an even‐numbered page. For example, if you're on page 2 and you create a new even‐numbered page section, then the next page will have the page number 4.
Odd Page: Use this option to end the current section and create a new section on an odd‐numbered page. For example, if you're on page 1 and you create a new odd‐numbered page section, then the next page will have the page number 3.
Changing Page Setting Options for a Section
When you add a section on a new page, you can change the page settings only in that section. So, you can have a document that includes one page in portrait orientation with one column and another page in landscape orientation with three columns.
After you create a new page section, your cursor appears on the new page. Now follow these steps to change the page settings:
1 Click the Layout menu option if it isn't open already.
2 In the Layout ribbon, click Margins in the Page Setup section (see Figure 2.13), and then click one of the default margin types in the drop‐down menu. If you want a custom margin setting, click Custom Margins at the bottom of the menu. FIGURE 2.13Page Setup options
3 Click Orientation to select between Portrait and Landscape page orientation for all the text in the section.
4 Change the number of columns in the section by clicking Columns and then selecting the number of columns, as you learned to do earlier in this chapter.
5 Add page numbering by clicking the Insert menu option.
6 In the Insert ribbon, click Page Number in the Header & Footer section.
7 In the drop‐down menu, as shown in Figure 2.14, move the mouse pointer over the position of the page number in the menu and then select the page number style in the side menu. FIGURE 2.14Page Number menu
8 Add a border to the page containing your section by clicking the Design menu option.
9 In the Design ribbon, click Page Borders in the Page Background area.
10 Create the border in the Borders And Shading dialog box (see Figure 2.15); when you finish, click OK. FIGURE 2.15Borders And Shading dialog box
11 Add a header or footer by clicking the Insert menu option.
12 In the ribbon, click Header or Footer in the Header & Footer area. Select the built‐in style for the header or footer in the drop‐down menu.
After you click a header or footer, the page that has your section displays the header and/or footer. Figure 2.16shows one of the built‐in footer styles.
EXERCISE 2.3 Inserting Sections
1 Open a new document and type some text or open an existing document.
2 Add a next page section break at the end of your document.
3 In your new section, create two columns.
4 Open the Borders And Shading dialog box, select the Box border type, and then click OK.
5 Create a new header and footer, both with the built‐in Facet style.
6 When you're done, save and close your document.
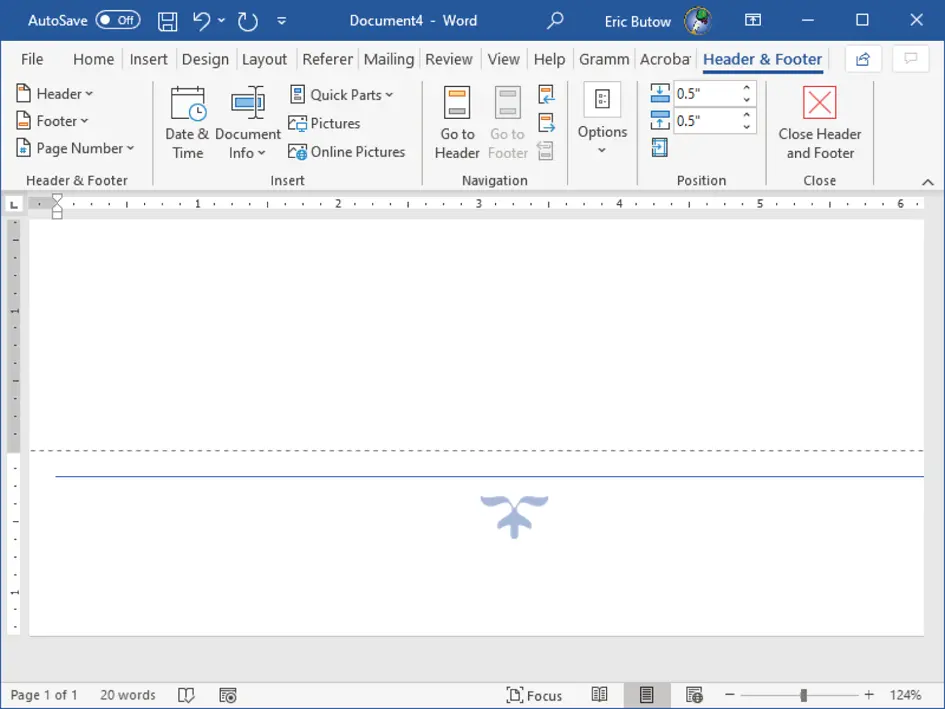
FIGURE 2.16Built‐in footer style
Summary
In Chapter 1, I talked about finding and replacing text, and I started this chapter by going into greater detail. I followed up by showing you how to insert one or more symbols or special characters into your documents.
Next, you learned about how to format text and paragraphs using built‐in effects, as well as applying formats using Format Painter. Then I dove deeper into line and paragraph spacing as well as indentation that followed up on what I discussed in Chapter 1.
You also learned more about applying styles that Word provides automatically in new documents, which build on what I discussed in Chapter 1. I finished that section by telling you how to clear all your formatting and start fresh without losing your text (and your time).
Finally, you learned about how to create and configure breaks and sections in a document. I talked a little bit about these in Chapter 1. In this chapter, however, you learned much more, including changing page settings in a section.
Key Terms
| break | indent |
| Clear | Section |
| Column | Spacing |
| Format Painter | special characters |
| formatting | Styles |
| graphical user interfaces (GUIs) | symbols |
Exam Essentials
Understand how to find and replace text in a document.Know the different ways to find text, how to find and replace text, and how to customize your search by setting different search and formatting options.
Understand how to add one or more symbols and special characters.Know how to add symbols and special characters that aren't on the keyboard and how to add symbols or special effects by creating a shortcut key.
Understand how to add text effects.Understand how to access the Text Effects And Typography area to select a preexisting effect and create your own effects in the Text Effects And Typography menu.
Know how to apply formatting using Format Painter.Understand how to use the Format Painter feature to copy and apply formatting from one paragraph to another in a document.
Be able to change spacing between lines, as well as change paragraph spacing and indentation.Know how to change spacing between lines and between paragraphs and how to indent a line and remove an indent in a paragraph.
Читать дальшеИнтервал:
Закладка:
Похожие книги на «MCA Microsoft Office Specialist (Office 365 and Office 2019) Complete Study Guide»
Представляем Вашему вниманию похожие книги на «MCA Microsoft Office Specialist (Office 365 and Office 2019) Complete Study Guide» списком для выбора. Мы отобрали схожую по названию и смыслу литературу в надежде предоставить читателям больше вариантов отыскать новые, интересные, ещё непрочитанные произведения.


Обсуждение, отзывы о книге «MCA Microsoft Office Specialist (Office 365 and Office 2019) Complete Study Guide» и просто собственные мнения читателей. Оставьте ваши комментарии, напишите, что Вы думаете о произведении, его смысле или главных героях. Укажите что конкретно понравилось, а что нет, и почему Вы так считаете.