Anil Bangalore Shivappa - An Illustrated Atlas of Tooth Carving and Wax-Up Techniques
Здесь есть возможность читать онлайн «Anil Bangalore Shivappa - An Illustrated Atlas of Tooth Carving and Wax-Up Techniques» — ознакомительный отрывок электронной книги совершенно бесплатно, а после прочтения отрывка купить полную версию. В некоторых случаях можно слушать аудио, скачать через торрент в формате fb2 и присутствует краткое содержание. Жанр: unrecognised, на английском языке. Описание произведения, (предисловие) а так же отзывы посетителей доступны на портале библиотеки ЛибКат.
- Название:An Illustrated Atlas of Tooth Carving and Wax-Up Techniques
- Автор:
- Жанр:
- Год:неизвестен
- ISBN:нет данных
- Рейтинг книги:4 / 5. Голосов: 1
-
Избранное:Добавить в избранное
- Отзывы:
-
Ваша оценка:
An Illustrated Atlas of Tooth Carving and Wax-Up Techniques: краткое содержание, описание и аннотация
Предлагаем к чтению аннотацию, описание, краткое содержание или предисловие (зависит от того, что написал сам автор книги «An Illustrated Atlas of Tooth Carving and Wax-Up Techniques»). Если вы не нашли необходимую информацию о книге — напишите в комментариях, мы постараемся отыскать её.
Contains information on the pre-carving preparation of wax blocks Provides a description of anatomical landmarks Offers a complete and stepwise guide to the carving and wax-up of each tooth Includes video resources, located on the companion website, to assist students in the procedure
is perfect for undergraduate and graduate students in dentistry who aim to improve their cognitive and psychomotor skills.
An Illustrated Atlas of Tooth Carving and Wax-Up Techniques — читать онлайн ознакомительный отрывок
Ниже представлен текст книги, разбитый по страницам. Система сохранения места последней прочитанной страницы, позволяет с удобством читать онлайн бесплатно книгу «An Illustrated Atlas of Tooth Carving and Wax-Up Techniques», без необходимости каждый раз заново искать на чём Вы остановились. Поставьте закладку, и сможете в любой момент перейти на страницу, на которой закончили чтение.
Интервал:
Закладка:
Non‐cutting Edge/Side
The non‐cutting edge/side is used for smoothing wax and creating the slopes of the triangular ridge. Figure 2.4shows the carving of the mesial slope (2.4a) and distal slope (2.4b) of the mandibular first molar mesiobuccal cusp.
The Spoon End/Excavating End
This end is used in carving lingual or palatal fossae on the crown of anterior teeth and developmental depression on the roots of all teeth ( Figure 2.5a–d), by excavating wax [6].
The Handle
This part of the instrument is used to hold the carver ( Figure 2.2) [7].
The Shank
The shank connects handle to knife ( Figure 2.2). It may be either straight or angled. In carvers the shank is straight [8].
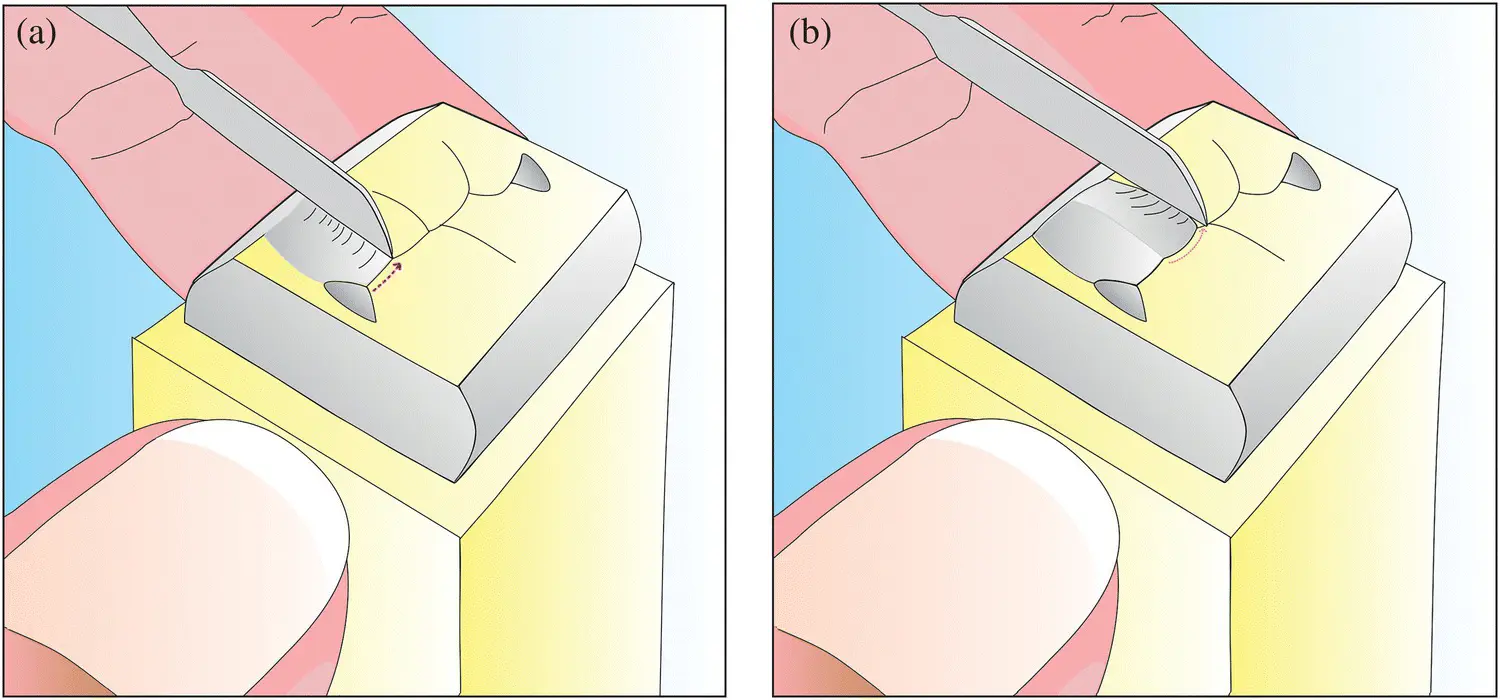
Figure 2.4 Carving the slopes of the triangular ridge using the non‐cutting side of the carver.
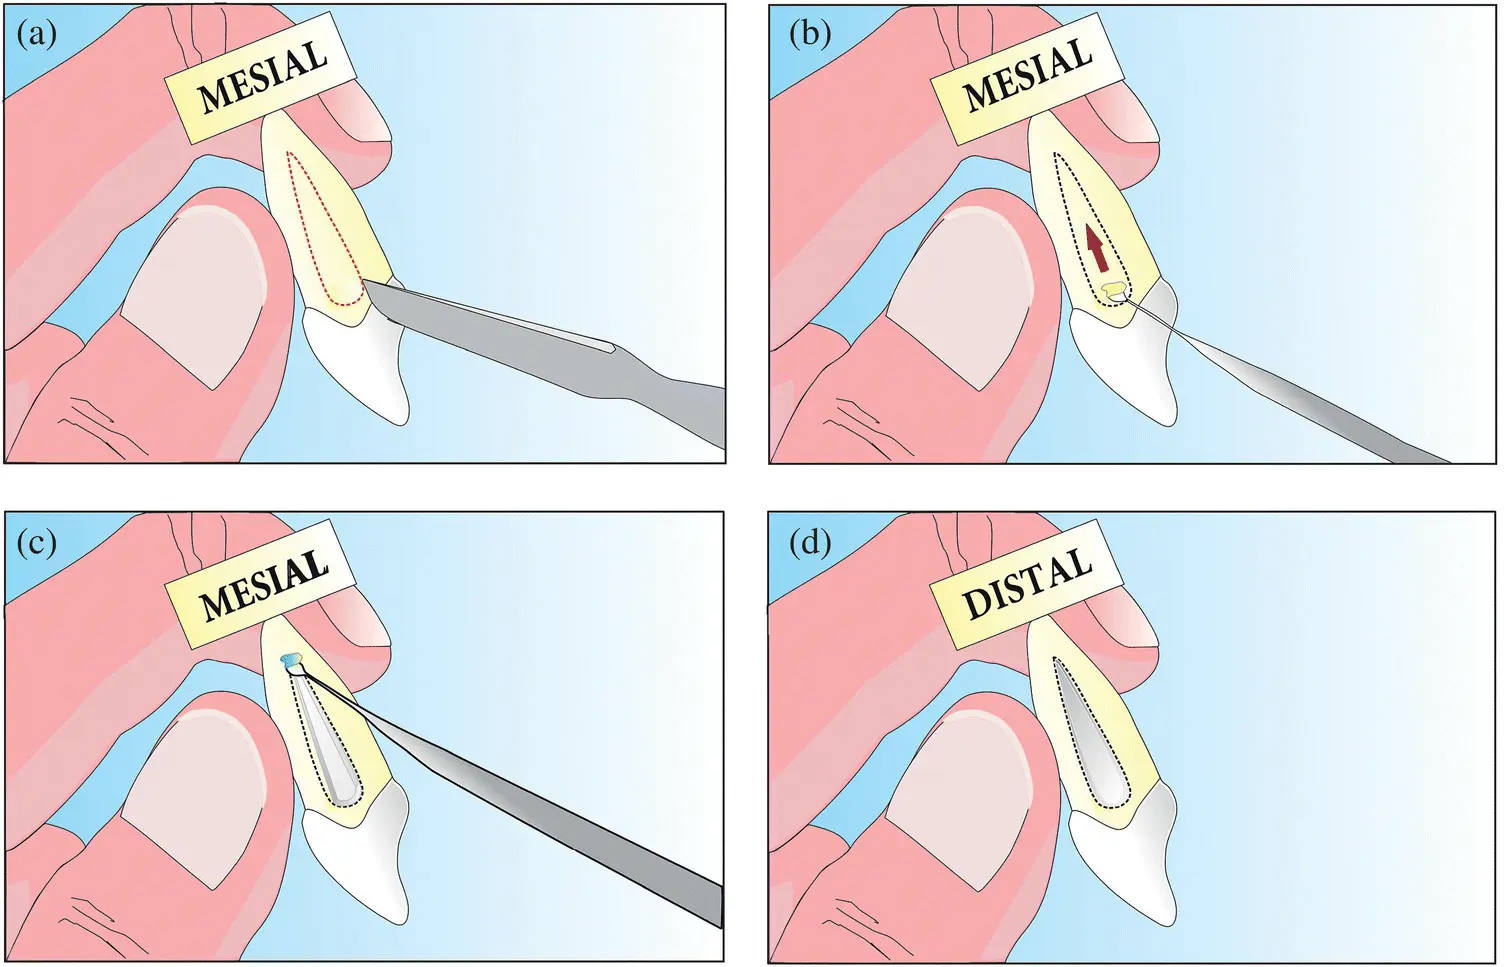
Figure 2.5 (a–d) Carving the developmental depression on the root portion using the spoon end of the carver.
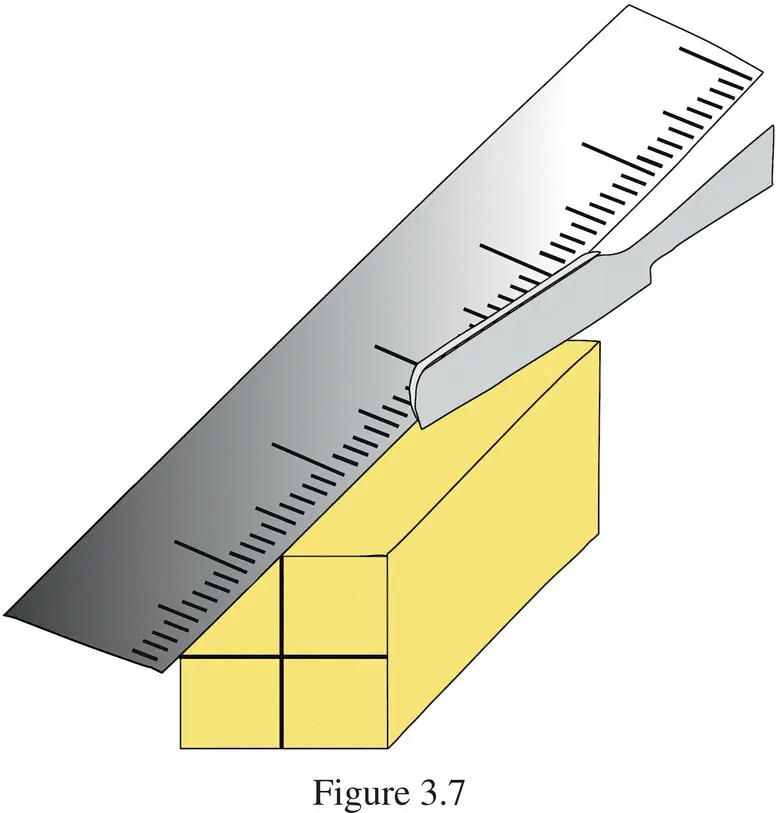
Metallic Scale or Ruler
The metallic scale ( Figure 2.6) is used to measure the dimension of the carving before and after the carving procedure.
Vernier Caliper
The Vernier caliper ( Figure 2.7) is an aid used to measure
1 Diameter of a small spherical/cylindrical body
2 The dimensions of a given regular body of known mass and hence to determine its density
It has a main scale and a sliding Vernier scale and four jaws [8].
Waxing Instruments
Based on their use waxing instruments are classified as wax addition, carving, or burnishing. PKT instruments ( Figure 2.8) used for waxing technique were designed by Dr. Peter K. Thomas. PKT no. 1 and no. 2 are used for adding wax. (They can also be used for burnishing.) PKT no. 3 is a burnisher for refining the occlusal anatomy, and PKT nos. 4 and 5 instruments are wax carvers. For larger increments of wax, PKT no. 1 is used; for smaller increments, PKT no. 2 is used. A no. 7 waxing spatula is used for adding large increments of wax, especially for the initial coating. Wax is melted by heating the instrument first near its shank, then touching the wax and quickly reheating the shank [9].

Figure 2.6 Metallic scale with markings in centimetres.
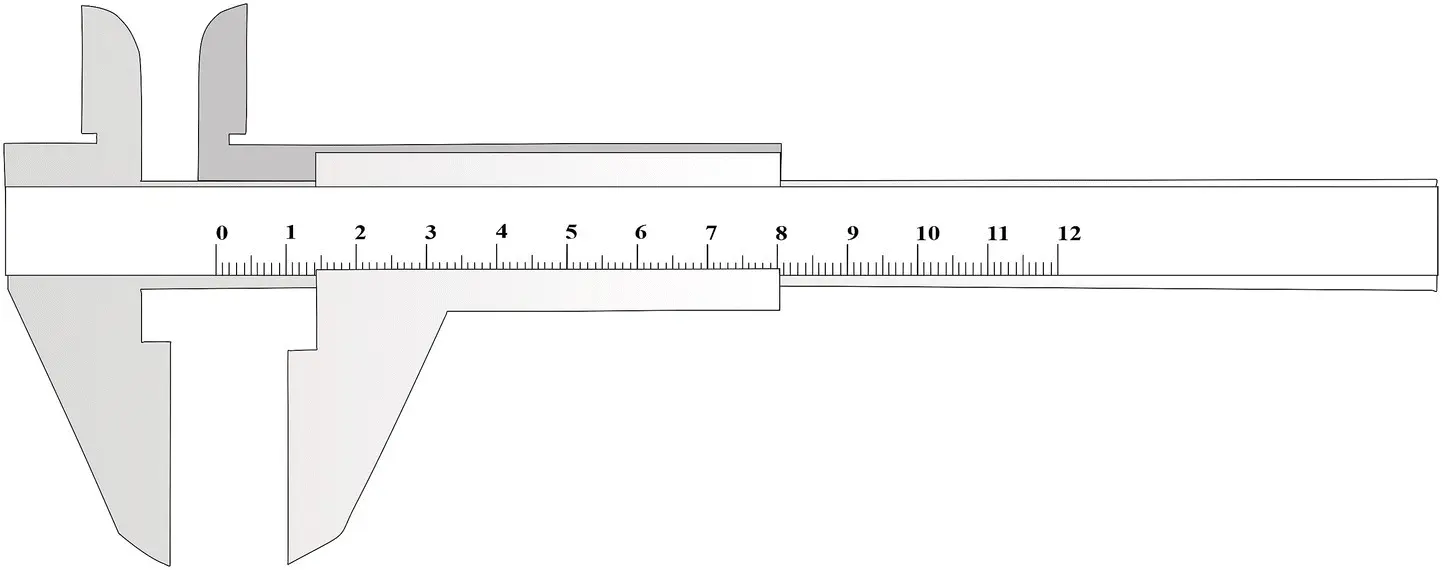
Figure 2.7 Vernier caliper.
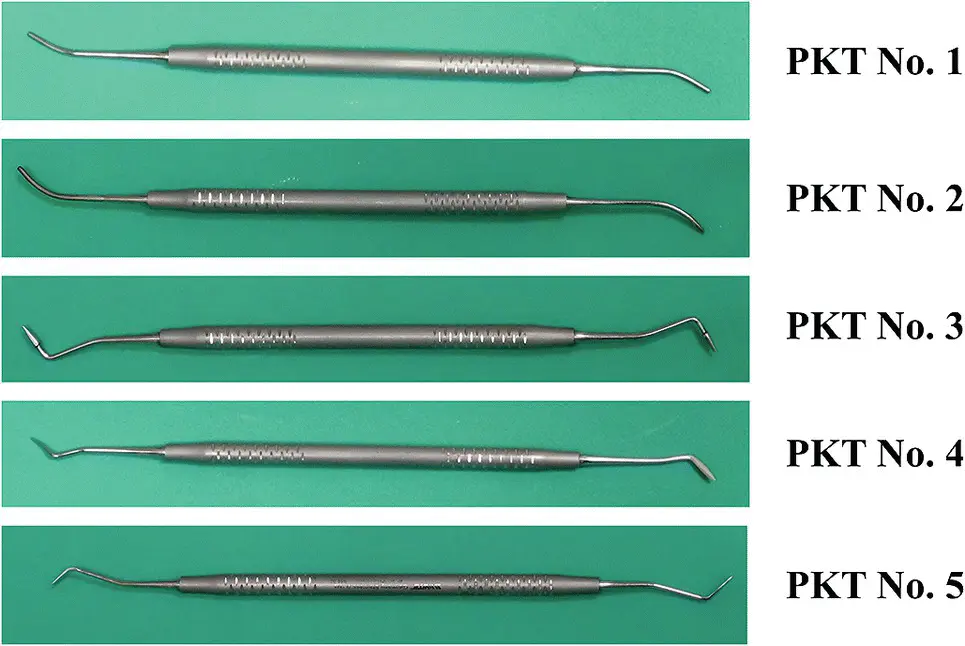
Figure 2.8 PKT instruments set.
Instrument Grasps
The modified pen grasp improves the tactile sense. The pads of the thumb and of the index and middle fingers contact the instrument, while the tip of the ring finger (or tips of the ring and little fingers) is placed on the opposing hand to obtain the rest ( Figure 2.10a and b) [7].
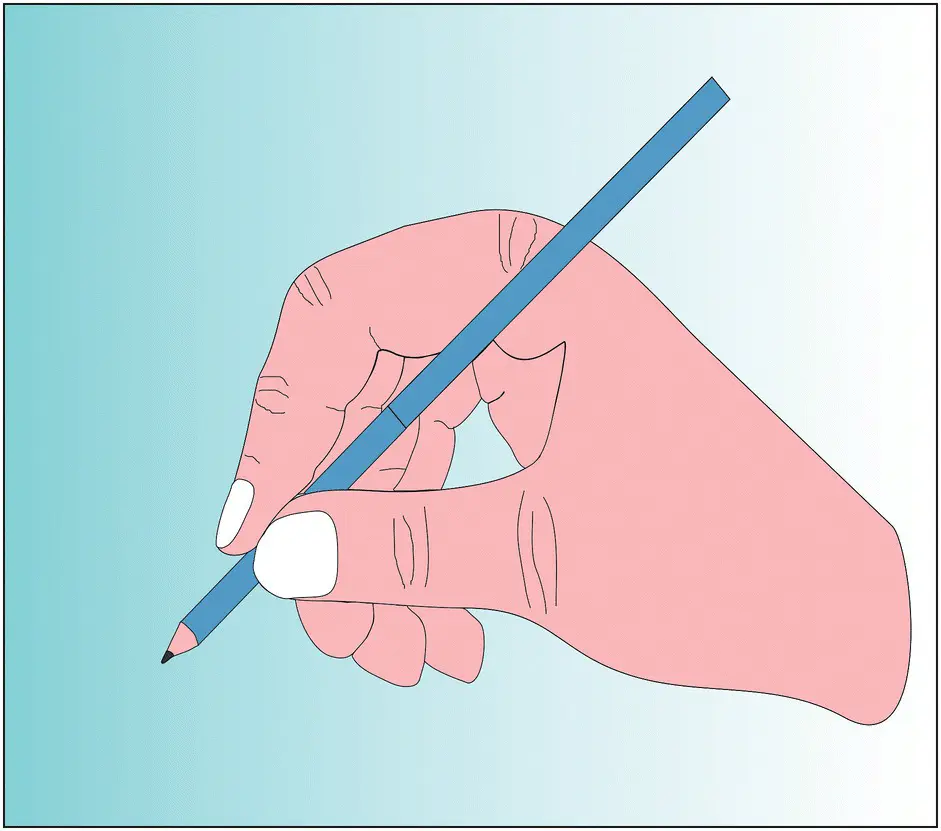
Figure 2.9Pen grasp.
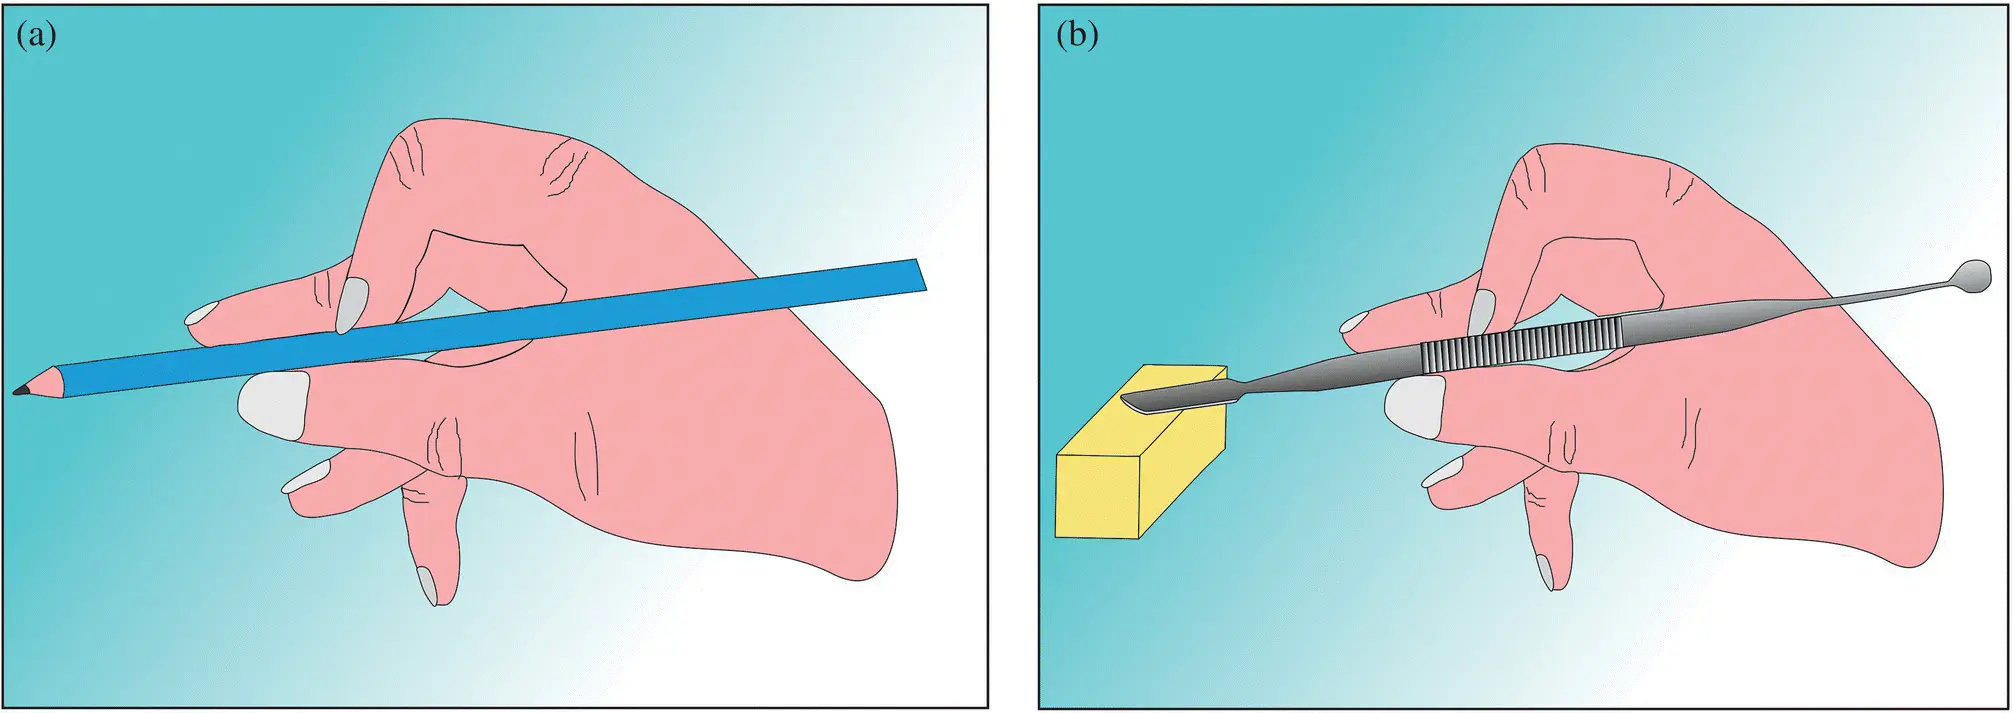
Figure 2.10 Modified pen grasp used for holding the instruments.
References
1 1 Widjijono Widjijono, Purwanto A, Dyah I. (2009).Mechanical properties of carving wax with various Ca‐bentolite filter composition. Dental Journal 42. (3): 114–117
2 2 Widjijono (2009). Correlation between calcium bentonite concentration and paraffin wax to the hardness of carving wax. Dental Journal 14 (1): 20–23
3 3 Craig, R.G. and Powers, J.M. (2012). Restorative Dental Materials, 11e. St. Louis, MO: Mosby.
4 4 Tony, J., David, G.P., Christopher, W.S., and David, G.W. (2016). Basics of Dental Technology: A Step by Step Approach, 2e. West Sussex: Wiley Blackwell.
5 5 Veecarestores (2019). Lecron carver: Use in dentistry. https://veecaredentalinstruments.tumblr.com/post/189770090499/lecron‐carver‐use‐in‐dentistry(accessed 19 March 2020).
6 6 Medical Tools (2020). Lecron wax carver. https://medical‐tools.com/shop/lecron‐wax‐carver.html(accessed 19 March 2020).
7 7 Harald, O.H., Edward, J.S., and Andre, V.R. (2013). Sturdevant's Art and Science of Operative Dentistry, 6e. St. Louis, MO: Elsevier.
8 8 National Council of Educational Research and Training (n.d.). Experiments. http://ncert.nic.in/ncerts/l/kelm102.pdf(accessed 19 March 2020).
9 9 Stephen, F.R., Martin, F.L., and Junhei, F. (2016). Contemporary Fixed Prosthodontics, 5e. St. Louis, MO: Elsevier.
3 Pre‐carving Preparation of Wax Blocks
LEARNING OBJECTIVE
The student will be able to assess the condition of the wax block and perform preparation steps before the actual carving steps.
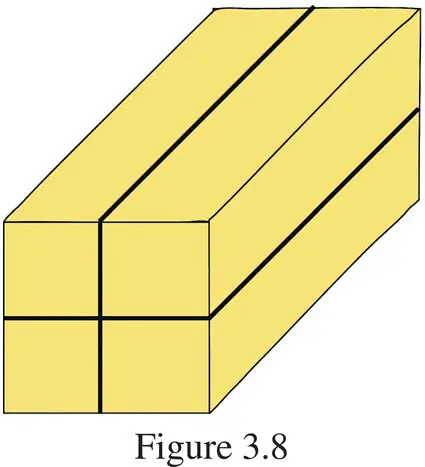
Smoothing the Wax Surface
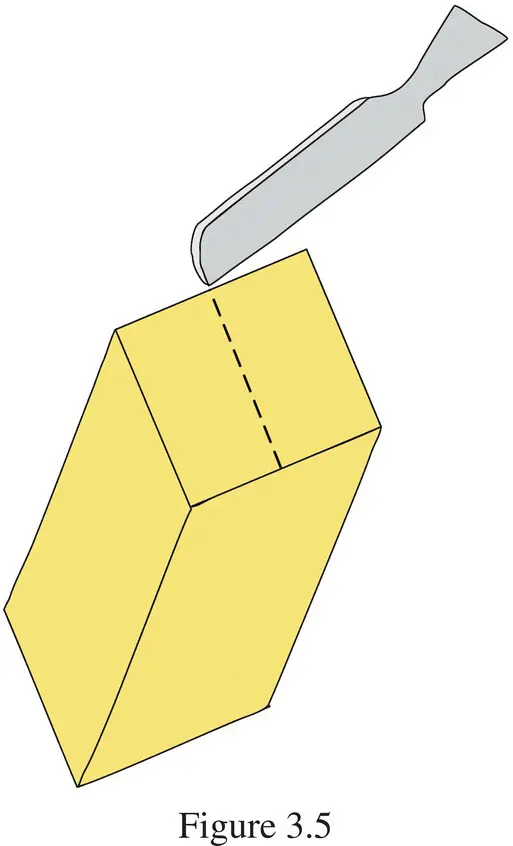
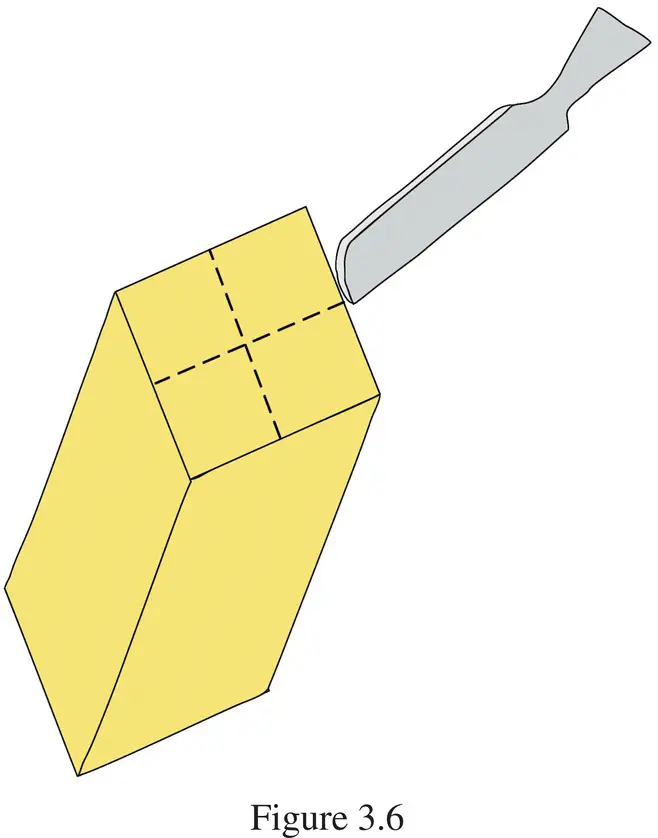
Wax block obtained from the manufacturers will have irregularities, air spaces, or voids ( Figure 3.1). These are created due to low filler content or entrapment of air during pouring into and hardening of the wax in the mould [1]. The wax surface should be smoothed before carving [2, 3]. Use the non‐cutting edge of the carver in a single direction ( Figure 3.2) to smooth surfaces ( Figures 3.3and 3.4)
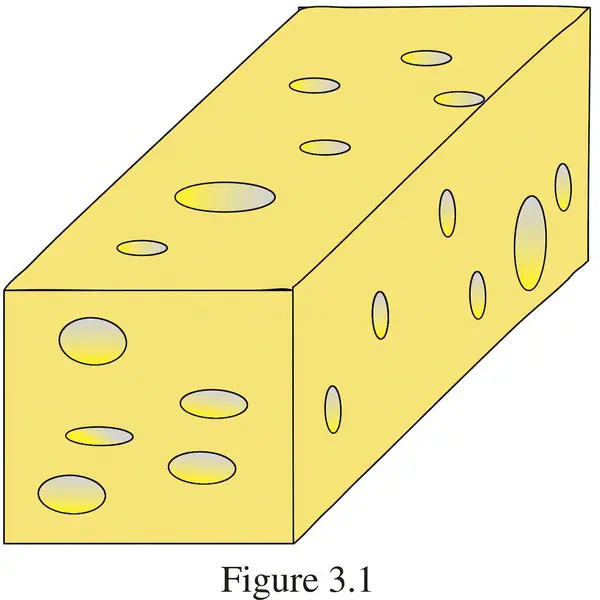

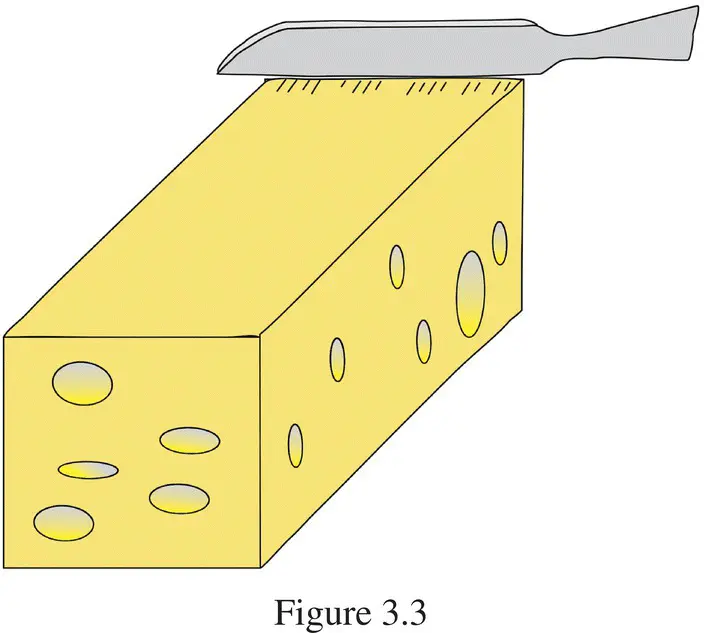
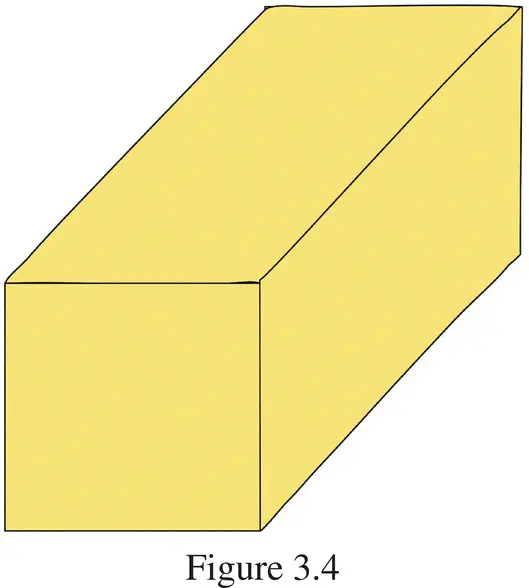
Figures 3.1–3.4 Technique to smooth wax block surface before the carving step sequence.
Интервал:
Закладка:
Похожие книги на «An Illustrated Atlas of Tooth Carving and Wax-Up Techniques»
Представляем Вашему вниманию похожие книги на «An Illustrated Atlas of Tooth Carving and Wax-Up Techniques» списком для выбора. Мы отобрали схожую по названию и смыслу литературу в надежде предоставить читателям больше вариантов отыскать новые, интересные, ещё непрочитанные произведения.


Обсуждение, отзывы о книге «An Illustrated Atlas of Tooth Carving and Wax-Up Techniques» и просто собственные мнения читателей. Оставьте ваши комментарии, напишите, что Вы думаете о произведении, его смысле или главных героях. Укажите что конкретно понравилось, а что нет, и почему Вы так считаете.