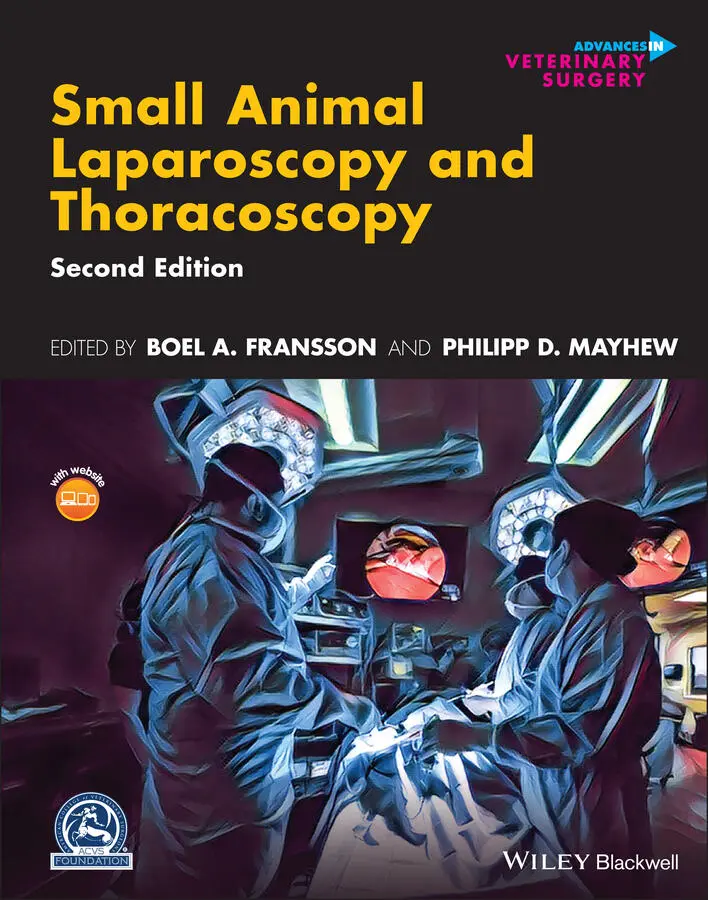
Small Animal Laparoscopy and Thoracoscopy
Здесь есть возможность читать онлайн «Small Animal Laparoscopy and Thoracoscopy» — ознакомительный отрывок электронной книги совершенно бесплатно, а после прочтения отрывка купить полную версию. В некоторых случаях можно слушать аудио, скачать через торрент в формате fb2 и присутствует краткое содержание. Жанр: unrecognised, на английском языке. Описание произведения, (предисловие) а так же отзывы посетителей доступны на портале библиотеки ЛибКат.
- Название:Small Animal Laparoscopy and Thoracoscopy
- Автор:
- Жанр:
- Год:неизвестен
- ISBN:нет данных
- Рейтинг книги:4 / 5. Голосов: 1
-
Избранное:Добавить в избранное
- Отзывы:
-
Ваша оценка:
Small Animal Laparoscopy and Thoracoscopy: краткое содержание, описание и аннотация
Предлагаем к чтению аннотацию, описание, краткое содержание или предисловие (зависит от того, что написал сам автор книги «Small Animal Laparoscopy and Thoracoscopy»). Если вы не нашли необходимую информацию о книге — напишите в комментариях, мы постараемся отыскать её.
is a rigorous update of the first book to provide comprehensive and current information about minimally invasive surgery in dogs and cats. With a focus on techniques in rigid endoscopy, the book also includes guidance on additional surgeries outside the abdomen and chest. New chapters describe newly developed surgical techniques, while existing chapters have been thoroughly updated.
The authors include detailed stepwise instructions for each procedure, including clinical photographs. Pre-operative considerations, patient positioning, portal placement, and postoperative care are also discussed, with key points of consideration outlined for each surgery.
Purchasers of the book will also receive access to a companion website featuring video clips of the fundamental skills and surgical techniques described in the resource. The book also offers:
An introduction to laparoscopic suturing and knot tying with accompanying video tutorials A thorough introduction to the equipment used in laparoscopic and thoracoscopic veterinary surgeries, including imaging equipment, surgical instrumentation, energy devices, and stapling equipment Clear explanations of foundational techniques in laparoscopy, including laparoscopic anesthesia, access techniques, contraindications, complications, and conversion Robust descriptions of fundamental techniques in thoracoscopy, including patient positioning, port placement, contraindications, complications, and conversion Discussions of a wide variety of laparoscopic and thoracoscopic surgical procedures
is an essential reference for veterinary surgeons, veterinary internal medicine specialists and residents, and small animal general practitioners seeking a one-stop reference for minimally invasive surgery in dogs and cats.
Small Animal Laparoscopy and Thoracoscopy — читать онлайн ознакомительный отрывок
Ниже представлен текст книги, разбитый по страницам. Система сохранения места последней прочитанной страницы, позволяет с удобством читать онлайн бесплатно книгу «Small Animal Laparoscopy and Thoracoscopy», без необходимости каждый раз заново искать на чём Вы остановились. Поставьте закладку, и сможете в любой момент перейти на страницу, на которой закончили чтение.
Интервал:
Закладка:
20 Chapter 17Figure 17.1 A right‐sided adrenal mass can be seen with the phrenicoabdomina...Figure 17.2 In this contrast‐enhanced computed tomography image, a small thr...Figure 17.3 In this coronal reconstruction of a contrast‐enhanced computed t...Figure 17.4 In this case, a large right adrenal mass is present that is prim...Figure 17.5 Both surgeons stand on the side of the patient's ventral abdomen...Figure 17.6 For sternal positioning, padding is placed in between the front ...Figure 17.7 Positioning for retroperitoneal laparoscopic adrenalectomy is sh...Figure 17.8 For laparoscopic adrenalectomy in lateral recumbency, three port...Figure 17.9 Port placement for laparoscopic adrenalectomy in sternal recumbe...Figure 17.10 Port placement for retroperitoneal laparoscopic adrenalectomy. ...Figure 17.11 A laparoscopic j‐hook monopolar electrosurgical probe is being ...Figure 17.12 This left‐sided adrenocortical mass was found upon entry into t...Figure 17.13 The course of the renal vein on the left side can be clearly se...Figure 17.14 This right‐sided caudal pole adrenal mass is intimately attache...Figure 17.15 In this series of images, the progression of the dissection of ...Figure 17.16 A small defect can be seen in the diaphragm at the end of the d...Figure 17.17 The inverted thumb of a large‐sized surgical glove has been use...Figure 17.18 The adrenal mass has been placed into a commercially available ...Figure 17.19 SILS‐port placement. Instrument trajectory is caudal to cranial...Figure 17.20 Typical view of the retroperitoneal perirenal space during righ...Figure 17.21 This aldosterone‐secreting tumor in a cat can be seen lying dor...Figure 17.22 In this right‐sided lesion, the capsule of the mass has been pe...
21 Chapter 18Figure 18.1 Anatomy of the pancreas and surrounding structures.Figure 18.2 Operating room (OR) layout for laparoscopic pancreatic surgery. ...Figure 18.3 Patient positioning for laparoscopic flank approach. The thorax ...Figure 18.4 Portal placement for ventral approach to the pancreas. The initi...Figure 18.5 Port placement for laparoscopic flank approach. The initial port...Figure 18.6 Surgical anatomy in dorsal recumbency with a ventral approach. (...Figure 18.7 Laparoscopic images of ventral midline approach in dorsal recumb...Figure 18.8 Normal surgical anatomy of left‐sided flank approach in sternal ...Figure 18.9 Laparoscopic left lateral approach in sternal recumbency in a Ge...Figure 18.10 Normal anatomy of the right flank approach in sternal‐oblique r...Figure 18.11 Right lateral flank laparoscopic approach in sternal recumbency...
22 Chapter 19Figure 19.1 Operating room set‐up for laparoscopic kidney biopsy in dorsal r...Figure 19.2 Operating room setup for laparoscopic left renal biopsy procedur...Figure 19.3 Port positions for laparoscopic kidney biopsy performed in dorsa...Figure 19.4 Port placement for renal biopsy in lateral recumbency.Figure 19.5 Graphic representation of acceptable needle path angles. The nee...Figure 19.6 Laparoscopic visualization of a needle biopsy.Figure 19.7 After removal of the biopsy needle, pressure is applied by a blu...Figure 19.8 A hemostatic cellulose product has been applied to the biopsy si...
23 Chapter 20Figure 20.1 A large multi‐lobulated mass can be seen obliterating the left k...Figure 20.2 Operating room layout for laparoscopic ureteronephrectomy. Durin...Figure 20.3 Port positioning for laparoscopic multiport transperitoneal uret...Figure 20.4 Port position for the single port or “single‐port plus 1” techni...Figure 20.5 The vessel‐sealing device can be seen dissecting and sealing the...Figure 20.6 A pair of 10‐mm right‐angled laparoscopic forceps are positioned...Figure 20.7 Feline laparoscopic ureteronephrectomy. A vessel‐sealing device ...Figure 20.8 Laparoscopic hemoclips have been placed on the renal artery befo...Figure 20.9 In this feline laparoscopic ureteronephrectomy, the ureter has b...Figure 20.10 Laparoscopic hemoclips are being applied to the terminal portio...Figure 20.11 A completely dissected kidney is being placed into a specimen r...
24 Chapter 21Figure 21.1 (A) Open cystotomy on a male dog with a large cystic calculus. (...Figure 21.2 Radiograph of male dog with numerous large cystic and urethral c...Figure 21.3 Radiograph of a female dog with multiple small cystic calculi.Figure 21.4 Male dog in dorsal recumbency clipped for laparoscopic‐assisted ...Figure 21.5 Male cat in dorsal recumbency clipped for laparoscopic‐assisted ...Figure 21.6 Multipurpose rigid endoscope.Figure 21.7 Pediatric operating cystoscope.Figure 21.8 Flexible ureteroscope Flex XC.Figure 21.9 Flexible ureteroscope Flex X2.Figure 21.10 Five‐mm port with Luer lock (attached to suction tubing).Figure 21.11 Five‐mm Ternamian cannula.Figure 21.12 Stone basket (resterilizable).Figure 21.13 360° wound retractor device.Figure 21.14 Location of port position for the two‐port laparoscopic‐assiste...Figure 21.15 Location of port position for the percutaneous cystolithotomy o...Figure 21.16 Operating room set‐up for laparoscopic‐assisted cystotomy or pe...Figure 21.17 The bladder apex is grasped using laparoscopic Babcock forceps....Figure 21.18 The port incision is enlarged to create a mini‐laparotomy, and ...Figure 21.19 Complete cystopexy at the second cannula site.Figure 21.20 Larger uroliths can be grasped with forceps introduced next to ...Figure 21.21 A wound retraction device properly positioned in the abdomen.Figure 21.22 Threaded cannula inserted into the ventral apex region of the u...Figure 21.23 Calculi visible in the trigonal region of the urinary bladder i...Figure 21.24 Flexible ureteroscope entering the threaded trocar on the ventr...Figure 21.25 Cystoscopic image of a single large 7‐mm urethral calculus in a...Figure 21.26 Same patient in Figure 21.25. The urethral calculus has been di...Figure 21.27 Transurethral cystoscopic illumination of an apical bladder mas...
25 Chapter 22Figure 22.1 Intraoperative view from a 0°, 5‐mm telescope view of the left o...Figure 22.2 Intraoperative view from a 0°, 5‐mm telescope of the left uterin...Figure 22.3 Photo of the required hair clip and initial positioning in the o...Figure 22.4 Photograph of a hair clip if an ovariectomy hook or needle suspe...Figure 22.5 A resterilizable ovariectomy hook (Karl Storz Endoscopy, Goleta,...Figure 22.6 Photograph of patient positioned on a tilt table that is used to...Figure 22.7 The operating room layout for a laparoscopic ovariectomy (LapOVE...Figure 22.8 Line drawing of three‐port ventral midline placement for ovariec...Figure 22.9 Line drawing of two port median placement for ovariectomy used w...Figure 22.10 Line drawing showing a single‐port device placed at the umbilic...Figure 22.11 Intraoperative view of a blunt probe being used to hold the rig...Figure 22.12 The suspension suture is passed under transabdominal illuminati...Figure 22.13 Intraoperative view of the percutaneous suspension needle pierc...Figure 22.14 Intraoperative view of the vessel‐sealing device starting to di...Figure 22.15 The uterine horns and ovaries removed from the abdomen through ...Figure 22.16 An intraoperative view of a pyometra that has been exteriorized...Figure 22.17 The left ovarian bursa is lifted with a needlescopic suture gra...Figure 22.18 The cervix and uterine body have been incised on dorsal midline...
26 Chapter 23Figure 23.1 Operating room set‐up. Because a majority of the procedure is pe...Figure 23.2 (A) Portal placement. Initial visual cannula placement is on mid...Figure 23.3 Immediately cranial to the inguinal canal the vas deferens (open...Figure 23.4 The vas deferens and testicular vasculature including all connec...Figure 23.5 Left inguinal canal with testicular vessels (black arrow). Vasec...Figure 23.6 Evaluating the inguinal canal. (A) If the testis has completed i...Figure 23.7 Locating an intraabdominal testicle. The gubernaculum (black arr...Figure 23.8 Extruding the testicle. If performing a laparoscopy‐assisted tec...Figure 23.9 Percutaneous suture placement. If bilateral, the first testicle ...
Читать дальшеИнтервал:
Закладка:
Похожие книги на «Small Animal Laparoscopy and Thoracoscopy»
Представляем Вашему вниманию похожие книги на «Small Animal Laparoscopy and Thoracoscopy» списком для выбора. Мы отобрали схожую по названию и смыслу литературу в надежде предоставить читателям больше вариантов отыскать новые, интересные, ещё непрочитанные произведения.


Обсуждение, отзывы о книге «Small Animal Laparoscopy and Thoracoscopy» и просто собственные мнения читателей. Оставьте ваши комментарии, напишите, что Вы думаете о произведении, его смысле или главных героях. Укажите что конкретно понравилось, а что нет, и почему Вы так считаете.