Rockridge Press - The Preppers Cookbook
Здесь есть возможность читать онлайн «Rockridge Press - The Preppers Cookbook» весь текст электронной книги совершенно бесплатно (целиком полную версию без сокращений). В некоторых случаях можно слушать аудио, скачать через торрент в формате fb2 и присутствует краткое содержание. Город: Berkeley, Год выпуска: 2013, ISBN: 2013, Издательство: Rockridge Press, Жанр: Кулинария, на английском языке. Описание произведения, (предисловие) а так же отзывы посетителей доступны на портале библиотеки ЛибКат.
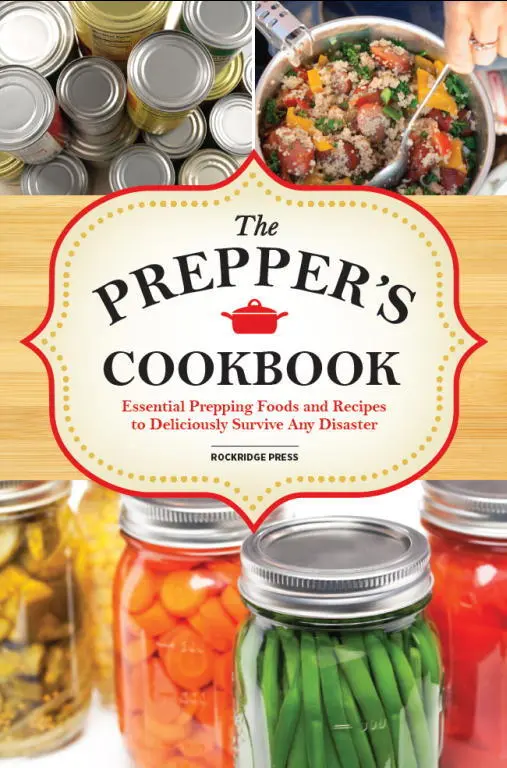
- Название:The Preppers Cookbook
- Автор:
- Издательство:Rockridge Press
- Жанр:
- Год:2013
- Город:Berkeley
- ISBN:978-1-62315-197-3
- Рейтинг книги:3 / 5. Голосов: 1
-
Избранное:Добавить в избранное
- Отзывы:
-
Ваша оценка:
The Preppers Cookbook: краткое содержание, описание и аннотация
Предлагаем к чтению аннотацию, описание, краткое содержание или предисловие (зависит от того, что написал сам автор книги «The Preppers Cookbook»). Если вы не нашли необходимую информацию о книге — напишите в комментариях, мы постараемся отыскать её.
.
Prepping your own food—choosing the right ingredients, in the right quantities, with the right methods—is the best way to ensure that you and your family will be ready for any disaster. This is the ultimate preppers cookbook for preparing in a safe and smart way.
With the help of
you’ll be able to:
• Get started with handy checklists and instructions to begin preparing immediately
• Use
to quickly learn and start using different food-preservation methods such as canning, pickling, and dehydrating
• Choose from delicious recipes from the
for every meal and situation, including breakfast, dessert, and snacks
• Keep track of your calories, water supply, and macronutrients using proper guidelines
• Easily organize your disaster response with helpful tips and suggestions from Regardless of what reality TV would have you believe, most preppers are real-world people just like you, who simply want to be prepared to survive any emergency that may arise. Advance preparation will be crucial to making it through a disaster, even if it’s for only a few days. With dozens of useful recipes, and with tutorials on crucial topics such as alternate food sources, reliable cooking methods, and water purification,
will help get your family prepared for any situation.
The Preppers Cookbook — читать онлайн бесплатно полную книгу (весь текст) целиком
Ниже представлен текст книги, разбитый по страницам. Система сохранения места последней прочитанной страницы, позволяет с удобством читать онлайн бесплатно книгу «The Preppers Cookbook», без необходимости каждый раз заново искать на чём Вы остановились. Поставьте закладку, и сможете в любой момент перейти на страницу, на которой закончили чтение.
Интервал:
Закладка:
Some people feel that drying doesn’t compare to canning or freezing, because it doesn’t quite preserve the texture, taste, appearance, or nutrition of the food. However, dried foods are great for nutrition on the go or for when other foods aren’t available. In cases of emergency, dry foods may be extremely helpful when frozen or refrigerated foods are unavailable. Many people concerned with emergency preparedness prefer dry foods because they take up little space and don’t require refrigeration.
Home drying methods largely depend upon what you’re drying; it can be done several ways. Some methods use an oven (so use a well-ventilated, dry space) and others use a dehydrator. Many people prefer drying by the sun, but it requires very hot, dry air. Basically it depends largely on location, climate, and what tools are available.
Drying isn’t hard, but it is time consuming. There are several different methods to choose from, with the top three described as follows.
Although the most popular method, oven drying is also the most expensive. It takes a lot of electricity or gas due to the long drying times. It also doesn’t have the best results flavor-wise. To use this method, preheat the oven to 145 degrees F, leaving the oven door open to allow constant circulation. You want the steam to be able to escape.
This is very popular and inexpensive, but the conditions have to be just right. To properly dehydrate food using the sun requires a minimum of three consecutive days of 95 degrees F temperature with extremely low humidity. This can be difficult to find depending on where you live. Also, not being able to control Mother Nature can prove difficult, too. So if this is feasible for your location, that’s great; if not, there are other methods to try.
Using a dehydrator costs very little and it is extremely efficient. It won’t heat up the house, but if you’re going to invest in one, go with one that has a temperature regulator so you can successfully dry a wider array of foods. Electric dehydration is more efficient than the oven. It works at low temperatures, which ensures the nutritional value of the food through the drying process. Simply follow the instructions manual for proper drying.
Dried Fruit and Fruit Leather
Even though it is relatively easy to find dried fruits and vegetables in the grocery stores, they are very expensive and often have preservatives that can be harmful. Besides, it’s fun to be creative in the kitchen, especially if you’re drying fruits and vegetables that you’ve grown yourself.
You can dry a wide variety of fruits, including apples, bananas, apricots, strawberries, blueberries, pears, peaches, and cherries. Dried fruits are generally leathery to crisp and may or may not be dipped in sugar or other seasonings to enhance flavors. You can also soak your fruits in flavored syrups if you’d like, although drying time may be significantly increased.
Here are a few initial basic steps:
• Pick fruit that is ripe but not overripe.
• Wash, pit, and slice fruit into uniform pieces to allow equal drying.
• If you want the color to stay intact, the fruit needs to be soaked in a mixture called a dip.
Dips prevent the loss of color in dried fruits. They also allow you to personalize your flavors. There are several different dips, but here are two favorites to get you started:
Honey Dip:This dip is good for tropical fruits such as bananas and pineapple. Simply mix together in a saucepan 1 cup of granulated sugar and 3 cups of water. Heat and stir until the sugar dissolves. Then add 1 cup of honey and stir until the honey is dissolved.
Ascorbic Acid Dip:This dip could be used for all fruit, but it works well with berries such as strawberries, blueberries, raspberries, etc. In a bowl, combine 5 crushed vitamin C tablets, 2 tablespoons of ascorbic acid, and ¼ cup of water. Stir until the vitamin C has dissolved.
Preparing your fruit is pretty simple, and the steps are specific to the fruit. Some of the most popular fruits to dry are apricots, peaches, apples, bananas, cherries, pears, strawberries, and blueberries. There are very few limitations as far as what you can dry.
Here are a few tips and caveats:
• For apricots, it works best to cut the fruit in half and turn inside out. They should be left to dry anywhere from 8 to 24 hours.
• Peaches need to be peeled and halved; they take 6 to 12 hours to dry.
• Apples need to be peeled and sliced into ¼-inch slices or rings; they take 6 to 12 hours to dry.
• Bananas have one of the most interesting flavors when dried. Peel them and slice into ¼-inch slices. Lay them flat on a sheet, and let them dry for 8 to 16 hours.
• Cherries need to be cut in half and dried for 18 to 26 hours, or until they get leathery (can take longer depending on the method and climate).
• Pears can be peeled and cut into ¼-inch slices. Dry for 6 to 20 hours.
• Strawberries need to be cut into ¼-inch slices, and they take approximately 6 to 16 hours to dry.
• Blueberries are simple; just lay them out on sheets and dry for 10 to 20 hours.
There are three ways to dry fruit: oven drying, solar drying, and electric dehydration. Drying does not necessarily mean applying heat to the fruit. Too much heat will draw the flavor and nutrition out of the fruit. When drying, the ideal temperature should stay between 120 and 140 degrees F. The fruit will take on a leathery appearance when fully dried.
• For oven drying, the temperature of the oven should be kept at less than 140 degrees F after the first hour. The last hour of drying is the most crucial. At this point, the fruit can easily burn and be ruined if the temperature is not closely monitored. Reduce temperatures dramatically during the last hour, and check on the fruit frequently for any signs of burning or overdrying. Feel free to taste a piece or two to check doneness. When the drying is completed, put the fruit in a pot or jar without a lid and leave in a dry, warm place for no longer than two weeks. Be sure to stir at least once a day.
• Sun dryingis the most complicated method of the three but also the cheapest. It requires a climate with 95 to 100 degree F weather and low humidity. Other than that it’s fairly easy. Spread the slices of fruit on a screen for three to four days, and turn once a day. Also, it is very important to bring them inside at night to keep moisture from returning to the fruit, which can allow bacteria and mold to grow. Store them in a dry area with good circulation until morning.
• For dehydrators, simply follow the manufacturer’s instructions.
If you want to store your dried fruits long term, the best way is in the freezer. Simply store in a resealable bag or freezer jar, making sure it is airtight.
Another great way to store fruit is by making fruit leather. Fruit leather is basically smashed and liquidized fruit that is heated at high temperatures until boiling and then spread thinly on a large sheet pan and cooled. Instead of buying commercial fruit leather for your kids, you can make your own without added sugars and preservatives. Kids will love the idea of eating fruit they’ve grown at home, too. The following are some basic starter recipes for making homemade fruit leather.
Fruit Leather Recipes
Basic Fruit Leather
Here is a basic recipe that you can easily use for whatever fruit you wish. These instructions are for oven drying; however, if you have a food dehydrator, it is a much easier process.
Читать дальшеИнтервал:
Закладка:
Похожие книги на «The Preppers Cookbook»
Представляем Вашему вниманию похожие книги на «The Preppers Cookbook» списком для выбора. Мы отобрали схожую по названию и смыслу литературу в надежде предоставить читателям больше вариантов отыскать новые, интересные, ещё непрочитанные произведения.


Обсуждение, отзывы о книге «The Preppers Cookbook» и просто собственные мнения читателей. Оставьте ваши комментарии, напишите, что Вы думаете о произведении, его смысле или главных героях. Укажите что конкретно понравилось, а что нет, и почему Вы так считаете.