Anna Jones - The Modern Cook’s Year
Здесь есть возможность читать онлайн «Anna Jones - The Modern Cook’s Year» — ознакомительный отрывок электронной книги совершенно бесплатно, а после прочтения отрывка купить полную версию. В некоторых случаях можно слушать аудио, скачать через торрент в формате fb2 и присутствует краткое содержание. Жанр: unrecognised, на английском языке. Описание произведения, (предисловие) а так же отзывы посетителей доступны на портале библиотеки ЛибКат.
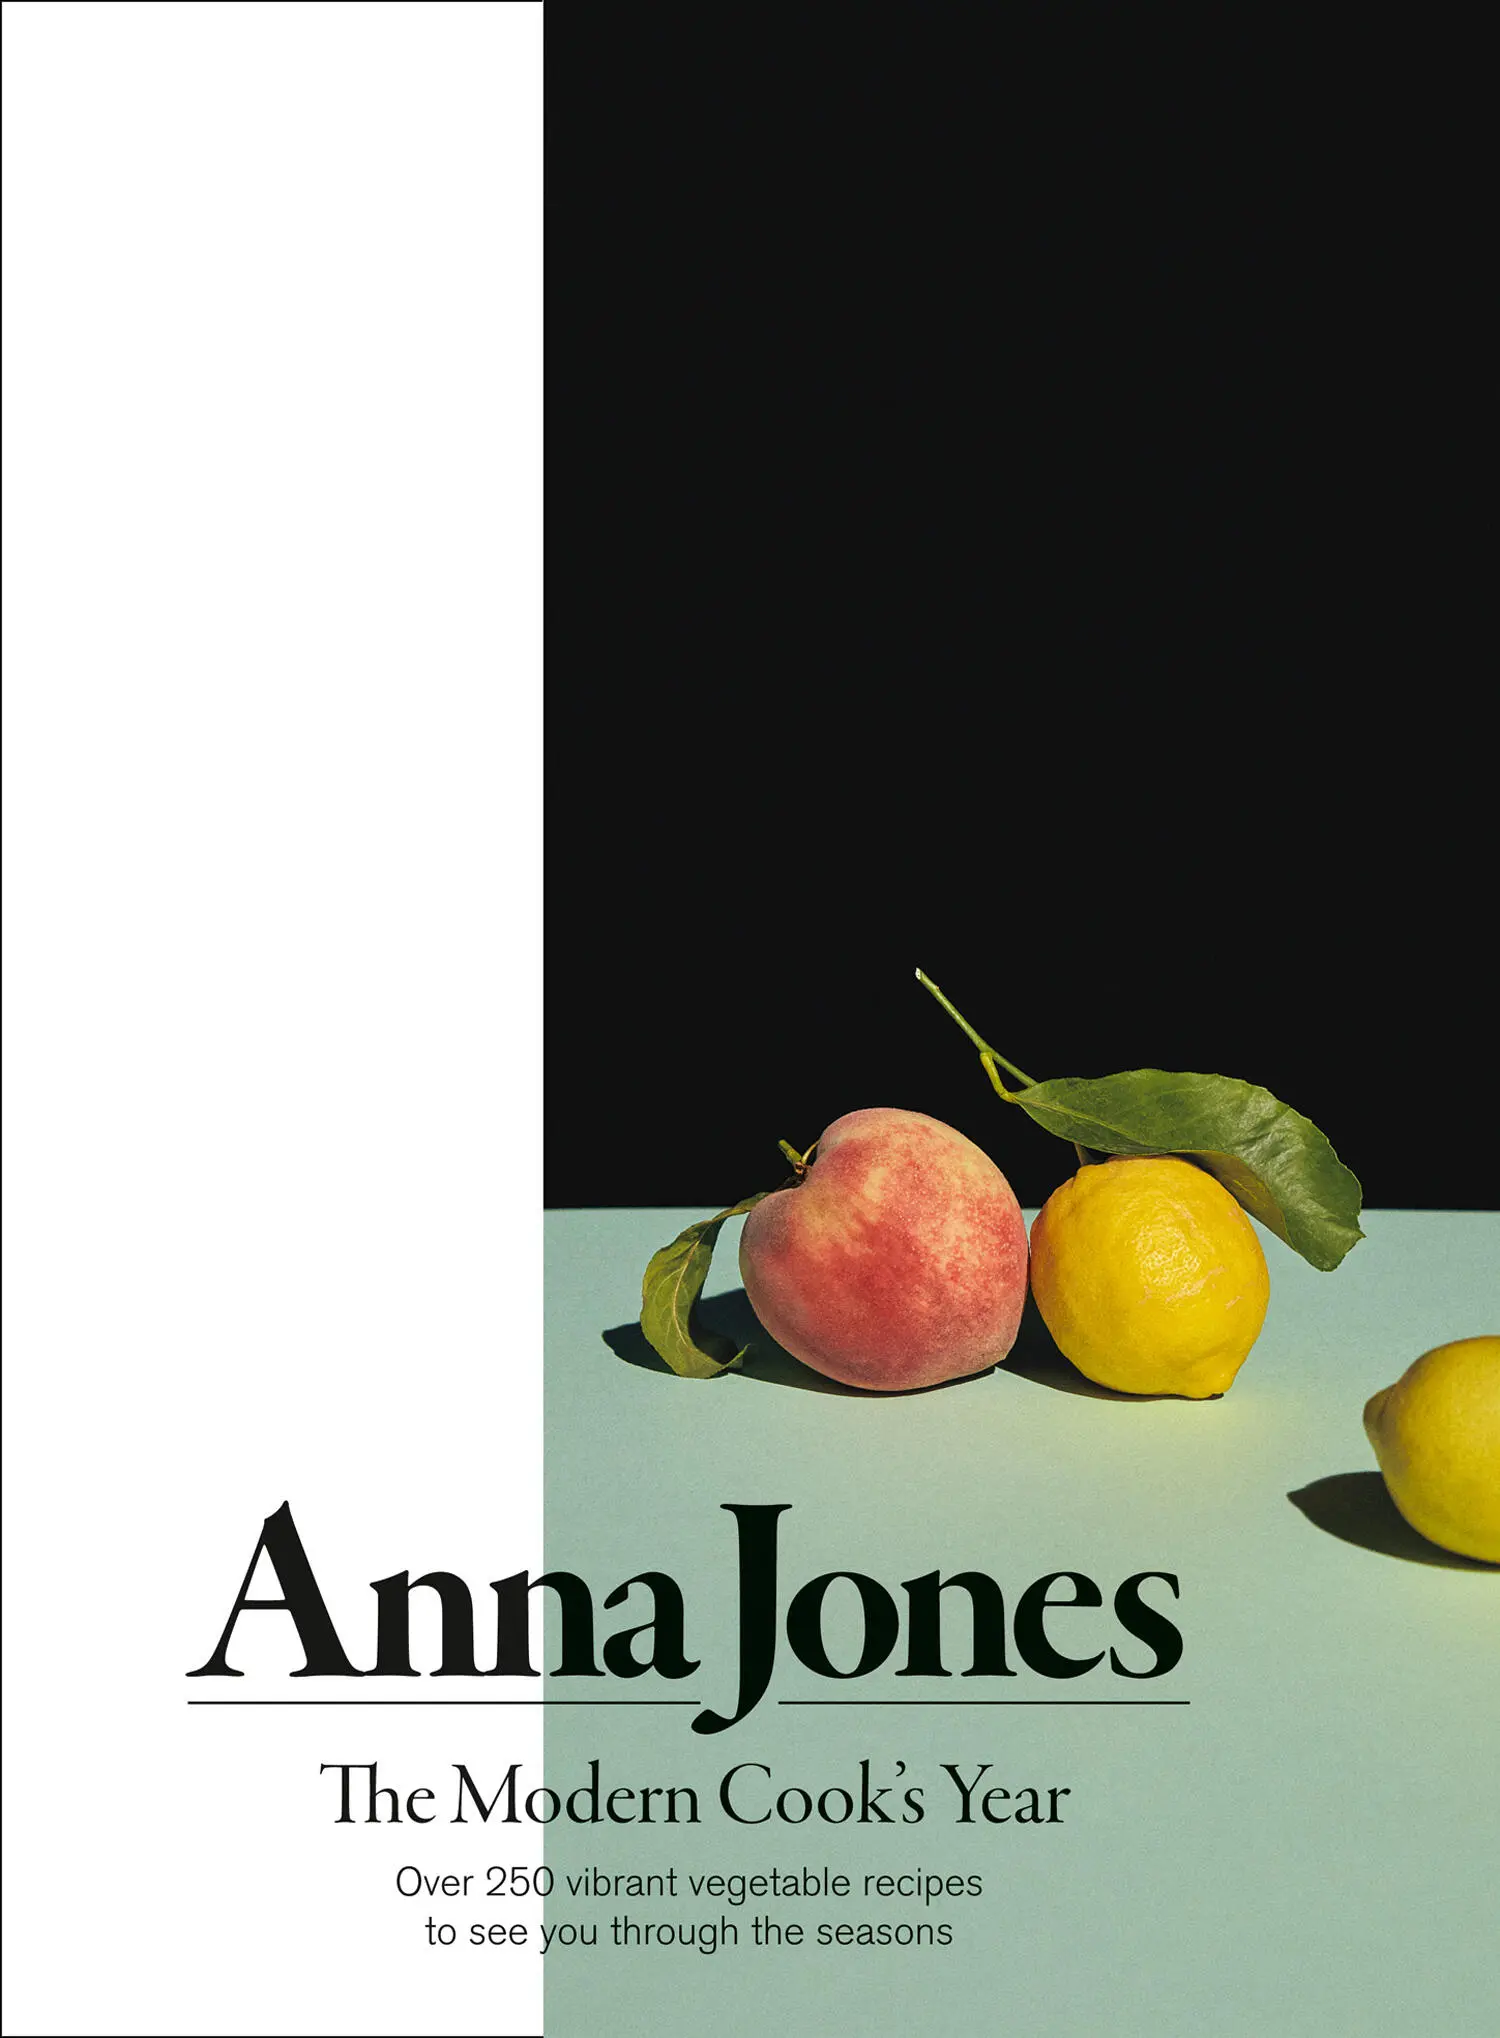
- Название:The Modern Cook’s Year
- Автор:
- Жанр:
- Год:неизвестен
- ISBN:нет данных
- Рейтинг книги:3 / 5. Голосов: 1
-
Избранное:Добавить в избранное
- Отзывы:
-
Ваша оценка:
The Modern Cook’s Year: краткое содержание, описание и аннотация
Предлагаем к чтению аннотацию, описание, краткое содержание или предисловие (зависит от того, что написал сам автор книги «The Modern Cook’s Year»). Если вы не нашли необходимую информацию о книге — напишите в комментариях, мы постараемся отыскать её.
The Modern Cook’s Year — читать онлайн ознакомительный отрывок
Ниже представлен текст книги, разбитый по страницам. Система сохранения места последней прочитанной страницы, позволяет с удобством читать онлайн бесплатно книгу «The Modern Cook’s Year», без необходимости каждый раз заново искать на чём Вы остановились. Поставьте закладку, и сможете в любой момент перейти на страницу, на которой закончили чтение.
Интервал:
Закладка:
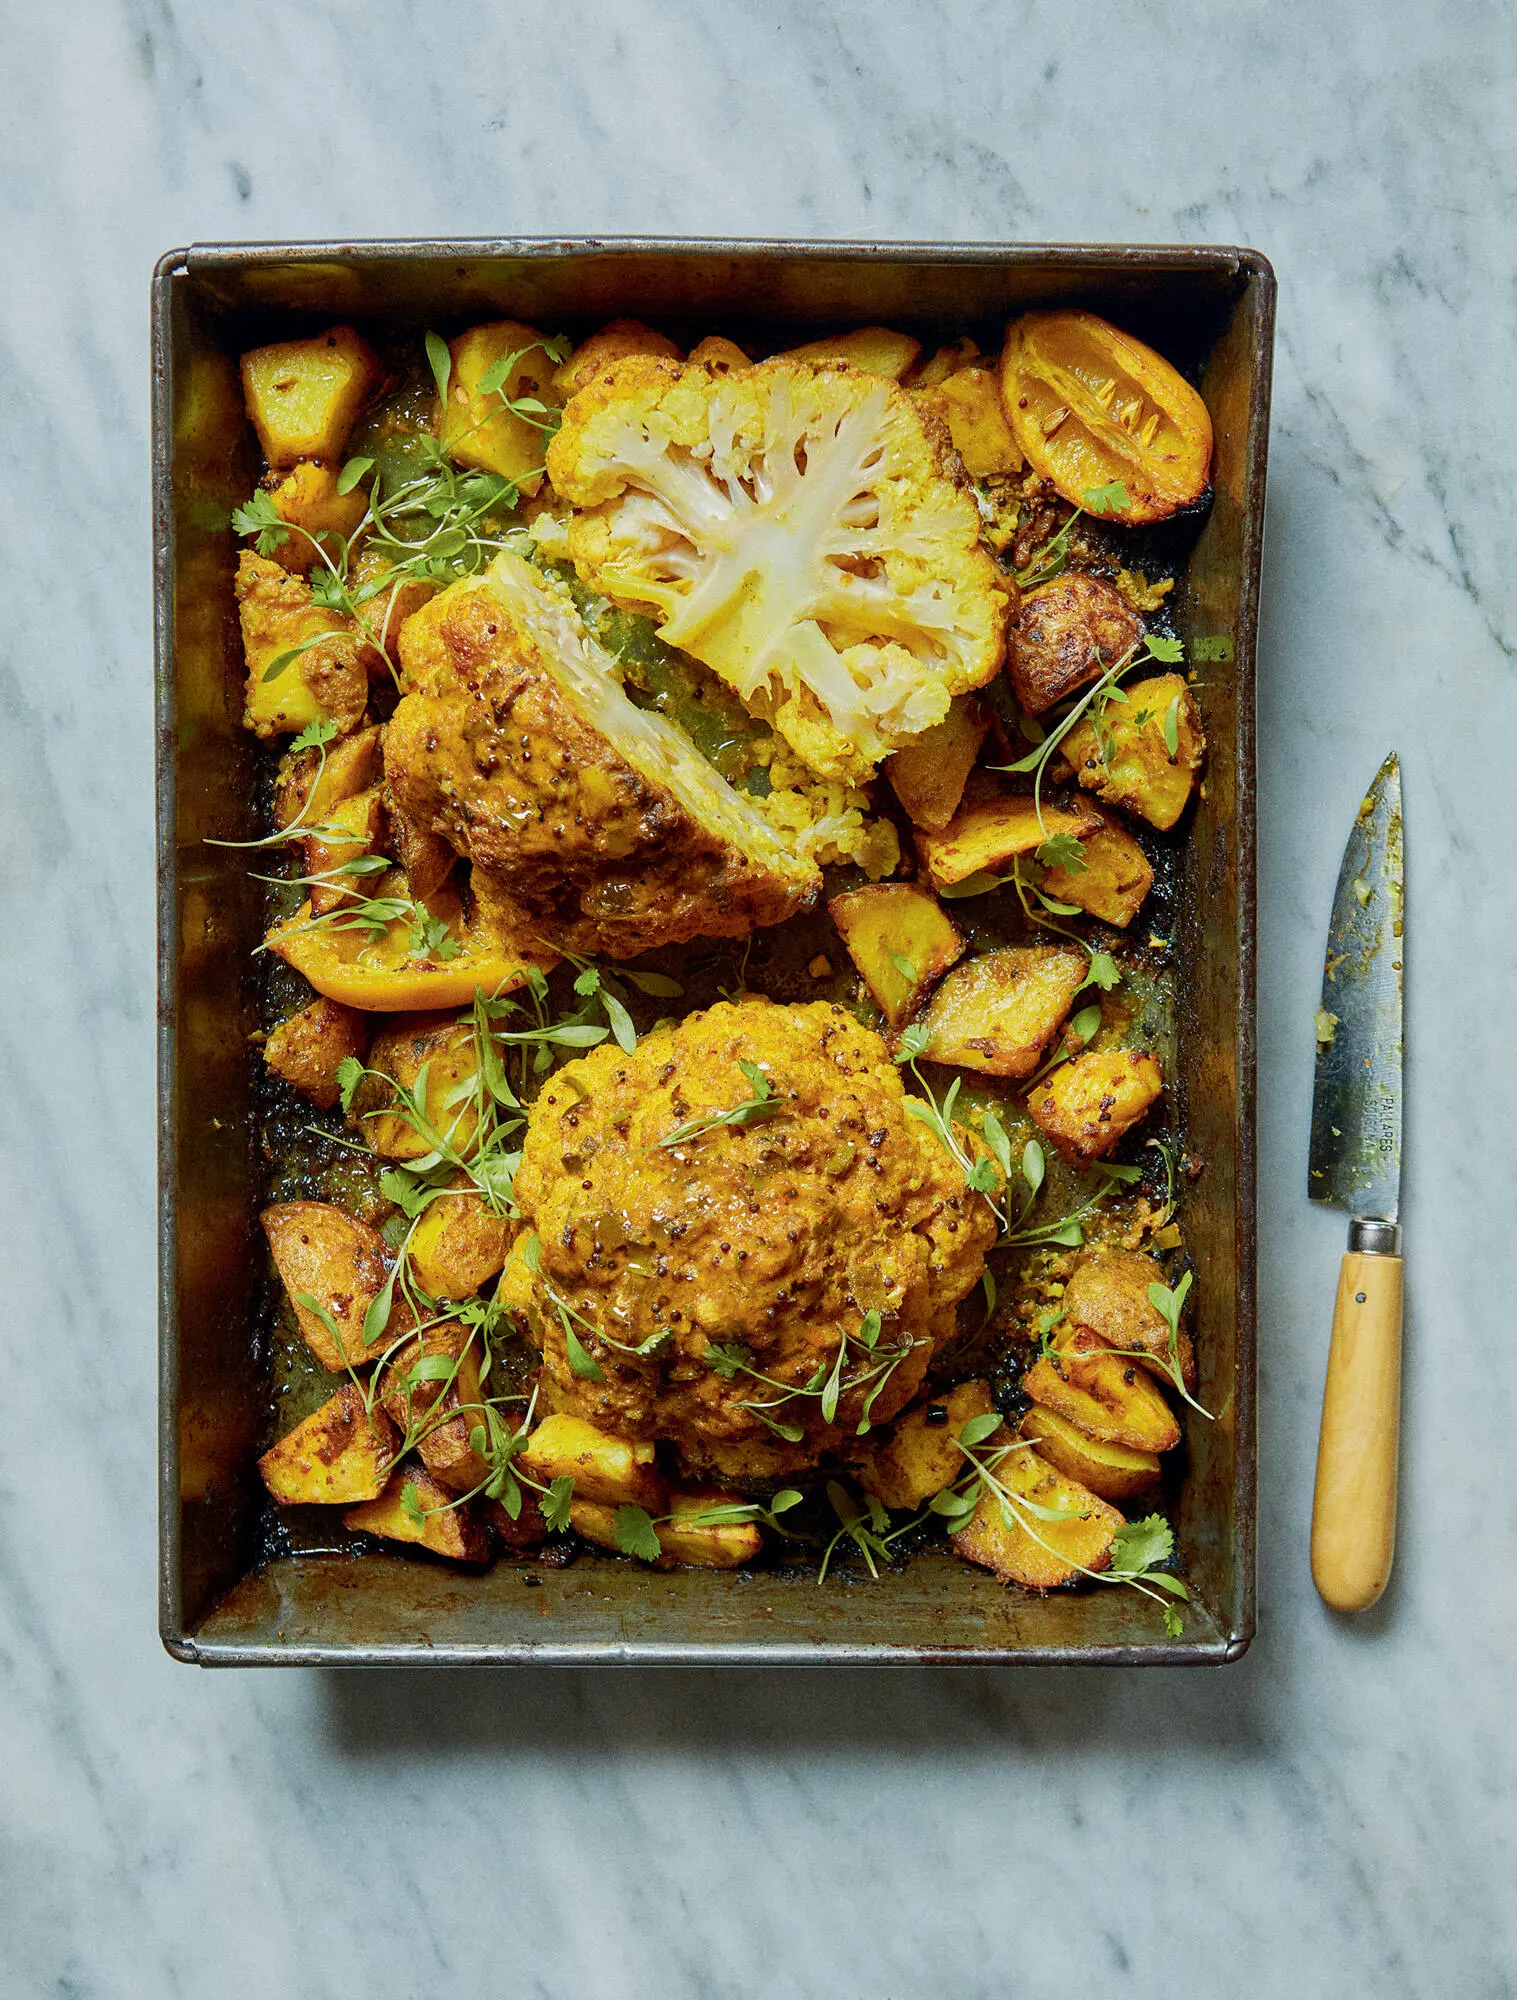
This is my favourite way to eat cauliflower: the sweet note of coconut milk, the punch of ginger and green chilli, the earthiness of mustard seeds and the clean spiced note of turmeric are perfect sidekicks to the neutral-flavoured, buttery roasted cauliflower. I add some halved potatoes to the pan to absorb the coconut and lemon goodness. There are few things which are as friendly in the way they soak up flavour as a cauliflower.
SERVES 4
1 large cauliflower or 2 small ones
600g potatoes
4 tablespoons coconut oil
a thumb-sized piece of ginger, peeled
4 green chillies
4 cloves of garlic, crushed
1 tablespoon black mustard seeds
2 teaspoons ground turmeric
1 x 400ml tin of coconut milk
1 unwaxed lemon, cut in half
TO SERVE
thick Greek or coconut yoghurt
almonds
a small bunch of coriander, leaves picked
Preheat the oven to 220ºC/200ºC fan/gas 7. Fill and boil the kettle.
Using a pair of scissors cut the large leaves and stalks away from the cauliflower. You can leave the little leaves close to the florets – they will go nice and crispy when roasted. Turn the cauliflower upside down and, using a small paring knife, carefully cut a hollow in the middle of the stalk, so that it cooks evenly. Take a pan big enough to hold the cauliflower, half fill it with water from the kettle and bring it to the boil. Season the water with salt, then immerse the cauliflower and simmer for 6 minutes. Drain the water away, put the lid back on and leave the cauliflower to steam in the residual heat for a further 10 minutes. Meanwhile, cut the potatoes into 2cm pieces, leaving the skin on.
Take an ovenproof dish or pan (that can go on the hob as well) large enough to take the cauliflower. Spoon in the coconut oil, and grate the ginger into the oil. Finely chop the chillies, discarding the seeds if you wish, then add them to the pan. Add the garlic, then place over a medium heat and let the spices and aromatics cook for a few minutes, until fragrant. Stir in the mustard seeds and continue cooking until the garlic has softened, then add the turmeric and a big pinch of salt.
Pour the coconut milk into the spice mixture, stir well and season with a little black pepper. When the milk starts to bubble gently, turn off the heat, place the drained cauliflower in the dish, then baste it with the coconut-spice mixture. Throw the lemon halves into the side of the dish too, then scatter the potatoes around; they will sit in the coconut milk.
Bake the cauliflower, basting it occasionally with the spiced sauce in the dish, for 40–45 minutes. You want it to catch a little on top. To test if the cauliflower is cooked, insert a small sharp knife into the middle – it should be really tender and the potatoes and cauliflower should have soaked up most of the sauce. Once it’s perfect, take it out of the oven and transfer to a serving dish, then squeeze over the roasted lemons. Serve in the middle of the table, with little bowls of yoghurt, almonds and coriander for sprinkling on top.
Wholegrain spelt, date and molasses scones
These are not scones to keep in a tin but scones to eat warm, with salted butter and tea. These are everything I want from something baked on a cold day: rounded deep sweetness from molasses, caramel notes from the dates and maltiness from the spelt.
I have intentionally made them in quite a small batch; they are very quick to whip up and taste much more decadent than their ingredients might suggest. You can use whatever black tea you like here – I love the bergamot kick of Earl Grey, brewed strong, but I can imagine a smoky lapsang souchong might be amazing.
MAKES 6
125g pitted dates
150ml freshly brewed strong black or Earl Grey tea
125g wholegrain spelt flour
2 teaspoons baking powder
¼ teaspoon ground allspice
¼ teaspoon flaky sea salt
30g cold unsalted butter, cubed
1 tablespoon molasses
75g buttermilk or thin natural yoghurt
FOR THE GLAZE
1 organic or free-range egg
1 tablespoon milk
a handful of rolled oats
Preheat the oven to 200ºC/180ºC fan/gas 6. Line a baking tray with baking paper.
Soak the dates in the hot tea for 15 minutes, until the tea has cooled a little. Mix together the flour, baking powder, allspice and salt with your fingertips, then add the butter until the mix looks like breadcrumbs. You could also do this by pulsing it in a food processor.
Drain, then roughly chop the dates and add them to the mix, along with the molasses and buttermilk. Mix slowly and lightly until the mixture forms a soft but not too sticky dough. Shape into a rough round ball, place on your prepared tray and use a knife to score across the top to mark out 6 portions, stopping before the knife reaches the tray; it should look a bit like a loaf of soda bread.
Mix the egg and milk for the glaze with a pinch of salt and brush it over the top, then sprinkle with the oats, pressing them into the dough lightly to stick them down.
Bake for 15 minutes, then turn the tray and reduce the heat to 180ºC/160ºC fan/gas 4 and continue to bake for about 10 more minutes, until the top is a dark golden brown and when you turn the scone over and tap it, it sounds hollow. Serve warm from the oven and break up as required. The scones are very good with the curd here.
Brewing your own kombucha
We have been drinking kombucha for years, mostly when I have travelled to visit my sister in LA where it seems to be as available as water. When I started drinking it every day I noticed really positive changes in how I was feeling. Back home I have found it harder to get my hands on and it’s very expensive so I started brewing it myself. I am sure it has helped us ward off a few winter colds.
Kombucha is a drink that’s been around for thousands of years. It’s a sweet fermented green or black tea with a bubbly character that I think is totally delicious. Kombucha has been widely praised as being good for you as it contains digestion-supporting probiotic enzymes that lots of us are lacking in our diets. It supports the healthy bacteria in our guts and can help improve our digestion and how we absorb the nutrients from our food. By making kombucha yourself it will be completely raw (some commercial ones are pasteurised) so it has maximum health benefits; you can also control the fizziness and how long it’s brewed to your taste.
The first thing I will say is that I’m not an expert; brewing kombucha is a huge topic and there are books and blogs entirely devoted to the subject. The brewing process is pretty simple: all you need is a bit of time, food (sugar) and good bacteria to create the brew (the scoby). Outlined below is how I brew mine and so far it’s been very successful. Before I started I was quite daunted by the process but after you’ve done it once you’ll get into the rhythm and it becomes really easy. Before you brew I recommend you read this explanation a couple of times; it may look like a lot of information but if you have a level of understanding it makes the process easier and quicker.
The scoby
The scoby, which stands for Symbiotic Culture of Bacteria and Yeast, is what you will need to ferment your tea. A scoby is a very strange-looking thing that I am weirdly fascinated by; it is like a big rubbery pancake. You can buy scobys online but as they are live they multiply so there are lots out in the world waiting for owners. A kombucha-brewing friend will have one or a quick search on the internet will probably unearth one for free.
The water
Filtered or at the very least boiled water is essential for kombucha brewing as some of the chemicals in tap water can affect the fermentation process.
Читать дальшеИнтервал:
Закладка:
Похожие книги на «The Modern Cook’s Year»
Представляем Вашему вниманию похожие книги на «The Modern Cook’s Year» списком для выбора. Мы отобрали схожую по названию и смыслу литературу в надежде предоставить читателям больше вариантов отыскать новые, интересные, ещё непрочитанные произведения.

![Anna Jones - По истечении срока годности – забыть [СИ]](/books/437842/anna-jones-po-istechenii-sroka-godnosti-zabyt-s-thumb.webp)


Обсуждение, отзывы о книге «The Modern Cook’s Year» и просто собственные мнения читателей. Оставьте ваши комментарии, напишите, что Вы думаете о произведении, его смысле или главных героях. Укажите что конкретно понравилось, а что нет, и почему Вы так считаете.