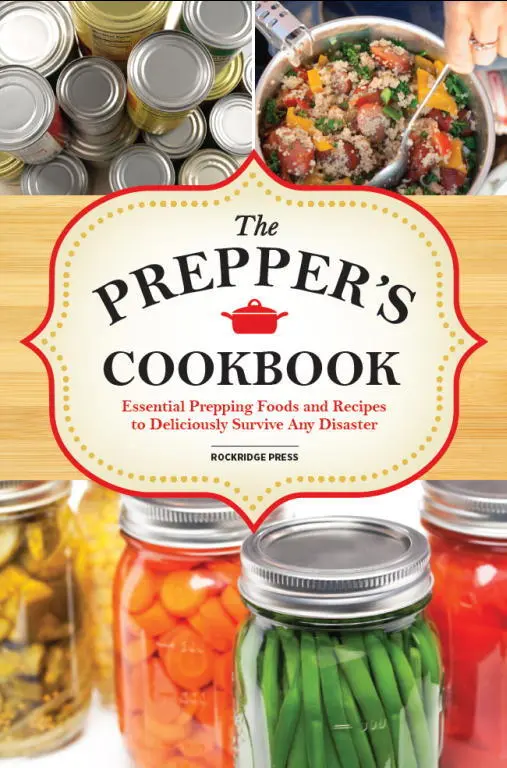
Rockridge Press - The Preppers Cookbook
Здесь есть возможность читать онлайн «Rockridge Press - The Preppers Cookbook» весь текст электронной книги совершенно бесплатно (целиком полную версию без сокращений). В некоторых случаях можно слушать аудио, скачать через торрент в формате fb2 и присутствует краткое содержание. Город: Berkeley, Год выпуска: 2013, ISBN: 2013, Издательство: Rockridge Press, Жанр: Кулинария, на английском языке. Описание произведения, (предисловие) а так же отзывы посетителей доступны на портале библиотеки ЛибКат.
- Название:The Preppers Cookbook
- Автор:
- Издательство:Rockridge Press
- Жанр:
- Год:2013
- Город:Berkeley
- ISBN:978-1-62315-197-3
- Рейтинг книги:3 / 5. Голосов: 1
-
Избранное:Добавить в избранное
- Отзывы:
-
Ваша оценка:
The Preppers Cookbook: краткое содержание, описание и аннотация
Предлагаем к чтению аннотацию, описание, краткое содержание или предисловие (зависит от того, что написал сам автор книги «The Preppers Cookbook»). Если вы не нашли необходимую информацию о книге — напишите в комментариях, мы постараемся отыскать её.
.
Prepping your own food—choosing the right ingredients, in the right quantities, with the right methods—is the best way to ensure that you and your family will be ready for any disaster. This is the ultimate preppers cookbook for preparing in a safe and smart way.
With the help of
you’ll be able to:
• Get started with handy checklists and instructions to begin preparing immediately
• Use
to quickly learn and start using different food-preservation methods such as canning, pickling, and dehydrating
• Choose from delicious recipes from the
for every meal and situation, including breakfast, dessert, and snacks
• Keep track of your calories, water supply, and macronutrients using proper guidelines
• Easily organize your disaster response with helpful tips and suggestions from Regardless of what reality TV would have you believe, most preppers are real-world people just like you, who simply want to be prepared to survive any emergency that may arise. Advance preparation will be crucial to making it through a disaster, even if it’s for only a few days. With dozens of useful recipes, and with tutorials on crucial topics such as alternate food sources, reliable cooking methods, and water purification,
will help get your family prepared for any situation.
The Preppers Cookbook — читать онлайн бесплатно полную книгу (весь текст) целиком
Ниже представлен текст книги, разбитый по страницам. Система сохранения места последней прочитанной страницы, позволяет с удобством читать онлайн бесплатно книгу «The Preppers Cookbook», без необходимости каждый раз заново искать на чём Вы остановились. Поставьте закладку, и сможете в любой момент перейти на страницу, на которой закончили чтение.
Интервал:
Закладка:

Basic Instructions for Pressure Canning
1. Wash and heat your jars and lids as instructed in the water-bath method section. Be sure that you don’t boil your lids, as it may damage the seals. Be very observant with your jars and bands. Check for cracks, dents, uneven threads, or other signs of damage, and throw out any that are imperfect.
2. Again, it’s best to be fully organized and ready to go, so prepare all your ingredients and your canner beforehand. Remember to leave the jars and lids in the hot water or dishwasher until ready to fill them.
3. Don’t overtighten your lids—remember that you want to let the air escape from the jars to create an environment unfriendly to pathogens. Just fingertip-tight is tight enough.
4. Leave the proper amount of headspace as dictated in the recipe. If you leave too much, all of the air may not be forced out during processing, and if you don’t leave enough, your product may boil up and get between the seal and the jar, prohibiting a seal from forming.
5. For the same reason, do your best to eliminate as many bubbles as possible.
6. Just as with water-bath canning, you want to have a small pot of water simmering on the side in case you need a little more hot water to cover the jars. Don’t ever pour cold water over hot jars, because they can and will explode, or at least break.
7. Once you have the jars in the canner, cover them with water and secure the canner’s lid, making sure that it seals properly. Don’t set the gauge over the vent port yet. Turn the heat on high with the vent open, and wait for steam to shoot steadily out before you put on the gauge. After you put on the gauge, the canner will begin to pressurize.
8. Begin on medium to high heat until you reach the right pressure, and then adjust the temperature back to where the gauge’s dial remains in the correct zone or the weight continues to jiggle.
9. Be sure to set a timer for the recommended processing time stated in your recipe because pressure canning cooks at a much faster rate than standard boiling. Start timing when the weight starts to jiggle or the gauge reads the correct pressure. When the timer is up, remove the canner from the heat and let cool.
10. Make sure you’re canning with the pressure indicated in the recipe and adjusted for your altitude. Most foods are canned at either 10 pounds of pressure using a weighted gauge or 11 pounds of pressure using a dial gauge. You will have to adjust the pressure for altitude. See the following altitude chart. You’ll also find an altitude chart at the back of the book for selected cities in the United States and Canada.

11. Very important: do not remove the gauge until all pressure is relieved from the canner.It is important to allow the pressure within the canner to return to 0 naturally.
12. After following the recommended steps in your manual to release the pressure, remove the weight gauge and unlock the lid. Tilt the lid away from you to prevent being burned by any leftover steam inside the canner.
13. Place a thick folded towel on your counter, and remove the jars (using tongs or lifter) without tilting them. Place them upright on the towel to allow the jars to cool. Otherwise, breaking and cracking can occur.
14. Don’t touch the jars for at least 12 to 24 hours, and don’t turn them upside down. Again, just as in the water-bath instructions, do not attempt to readjust the lids, as this may damage the strength of the seal.
15. If you have food that doesn’t seal, refrigerate it immediately and consume within a few days.
• If you are canning a soup with dry beans, cook the beans first for a few minutes ahead of time. Simply cover the beans with a few inches of water in a pot. Bring to a boil, simmer for about 2 minutes, remove from the heat, and let them soak for about an hour. Then drain and continue with your soup.
• First cook any meats and vegetables going into the soup as instructed by the recipe. Then combine all ingredients and add the broth or whatever liquid you are using as a base. Finally, add seasonings and spices. Bring to a boil and simmer for 5 minutes.
• When canning, you do not want to add any dairy, pasta, thickeners, or rice. These will have to be added later when you serve the soup.
• Fill the jars, leaving 1 inch of headspace. The easiest way to do this is by filling the jars with the solids of the soup first; that way, they will be evenly distributed among the jars. Then fill the jars with the liquids. If you run out of liquids before the jars are full, that’s okay. Simply heat some more stock or broth if you are lacking a good amount, or if you are lacking only a little bit at the tops, add hot water to top them off.
• Clean the rims of the jars well and secure the lids and bands. Follow the pressure-canning instructions discussed earlier and in the instruction booklet that came with your pressure canner.
• When processing pints, you want to allow 60 minutes of processing time; with quarts, 75 minutes. If there is any seafood in the soup, you will need to extend the process time to 100 minutes, for both pints and quarts.
• Don’t forget altitude adjustments.

11
PRESSURE CANNING RECIPES
Fresh-Canned Corn
• 20 fresh picked ears of corn, dehusked
• 4 teaspoons salt
• 8 pint jars, lids, and bands
1. Prepare your jars by bringing them to a boil in a large pot. Once they reach a boil, reduce the heat to low, and allow them to simmer until you’re ready to use them. Prepare the lids and bands by simmering (not boiling) them over low heat in a small saucepan.
2. Prepare your canner by filling it with 2 to 3 inches of water and bringing it to a boil over high heat.
3. Fill another large pot with water and bring to a boil. Add the whole ears of corn (in batches if needed) and blanch for 3 minutes. Remove from the water and place in a bowl of cold water.
4. Using a corn cobber or sharp paring knife, stand an ear of corn up with the wide end at the bottom, holding it firmly at the narrow end. Cut the rows of kernels off about three-quarters of the way to the cob. Do not scrape the cob. As you go, swipe the cut kernels into a large container. Repeat with each cob.
5. For raw pack: once all of the corn has been cut, bring another large pot of water to a boil and allow it to continue boiling until you’re ready to use it. Loosely pack the corn into the jars, leaving 1 inch of headspace. Add ½ teaspoon of salt to each jar. Pour in enough boiling water to cover, leaving 1 inch of headspace.
6. For hot pack: Use a quart jar or measuring pitcher to measure the corn kernels. Put all of the corn into a large pot, and for every quart of corn, add 1 cup of cold water. Bring to a boil and cook for 5 minutes. Pack the corn loosely into the jars, leaving 1 inch of headspace. Add ½ teaspoon of salt to each jar. Pour in enough of the cooking water to cover, leaving 1 inch of headspace.
7. Remove air bubbles, wipe rims, center the lids, and screw on the bands and adjust until they are fingertip tight. Place the jars in the canner.
Читать дальшеИнтервал:
Закладка:
Похожие книги на «The Preppers Cookbook»
Представляем Вашему вниманию похожие книги на «The Preppers Cookbook» списком для выбора. Мы отобрали схожую по названию и смыслу литературу в надежде предоставить читателям больше вариантов отыскать новые, интересные, ещё непрочитанные произведения.


Обсуждение, отзывы о книге «The Preppers Cookbook» и просто собственные мнения читателей. Оставьте ваши комментарии, напишите, что Вы думаете о произведении, его смысле или главных героях. Укажите что конкретно понравилось, а что нет, и почему Вы так считаете.