Rachel Allen - Home Baking
Здесь есть возможность читать онлайн «Rachel Allen - Home Baking» — ознакомительный отрывок электронной книги совершенно бесплатно, а после прочтения отрывка купить полную версию. В некоторых случаях можно слушать аудио, скачать через торрент в формате fb2 и присутствует краткое содержание. Жанр: unrecognised, на английском языке. Описание произведения, (предисловие) а так же отзывы посетителей доступны на портале библиотеки ЛибКат.
- Название:Home Baking
- Автор:
- Жанр:
- Год:неизвестен
- ISBN:нет данных
- Рейтинг книги:3 / 5. Голосов: 1
-
Избранное:Добавить в избранное
- Отзывы:
-
Ваша оценка:
Home Baking: краткое содержание, описание и аннотация
Предлагаем к чтению аннотацию, описание, краткое содержание или предисловие (зависит от того, что написал сам автор книги «Home Baking»). Если вы не нашли необходимую информацию о книге — напишите в комментариях, мы постараемся отыскать её.
Home Baking — читать онлайн ознакомительный отрывок
Ниже представлен текст книги, разбитый по страницам. Система сохранения места последней прочитанной страницы, позволяет с удобством читать онлайн бесплатно книгу «Home Baking», без необходимости каждый раз заново искать на чём Вы остановились. Поставьте закладку, и сможете в любой момент перейти на страницу, на которой закончили чтение.
Интервал:
Закладка:
5. Pour the milk on to the egg mixture, whisking all the time, then add the vanilla extract, if using. Make sure that the pan is clean with no trace of burned milk, pour the mixture back into the saucepan and whisk over a medium heat until boiling, then continue whisking for 2 minutes, in which time it will also thicken a lot. Pour into a clean bowl, then leave to cool.
6. Grease the side of the tin, and line the base with baking parchment. To make the almond paste, put the butter in a bowl and cream it with a wooden spoon until soft, or use an electric beater on slow or a food processor. Add the sugar, the ground almonds and the almond extract. Mix well, then set aside.
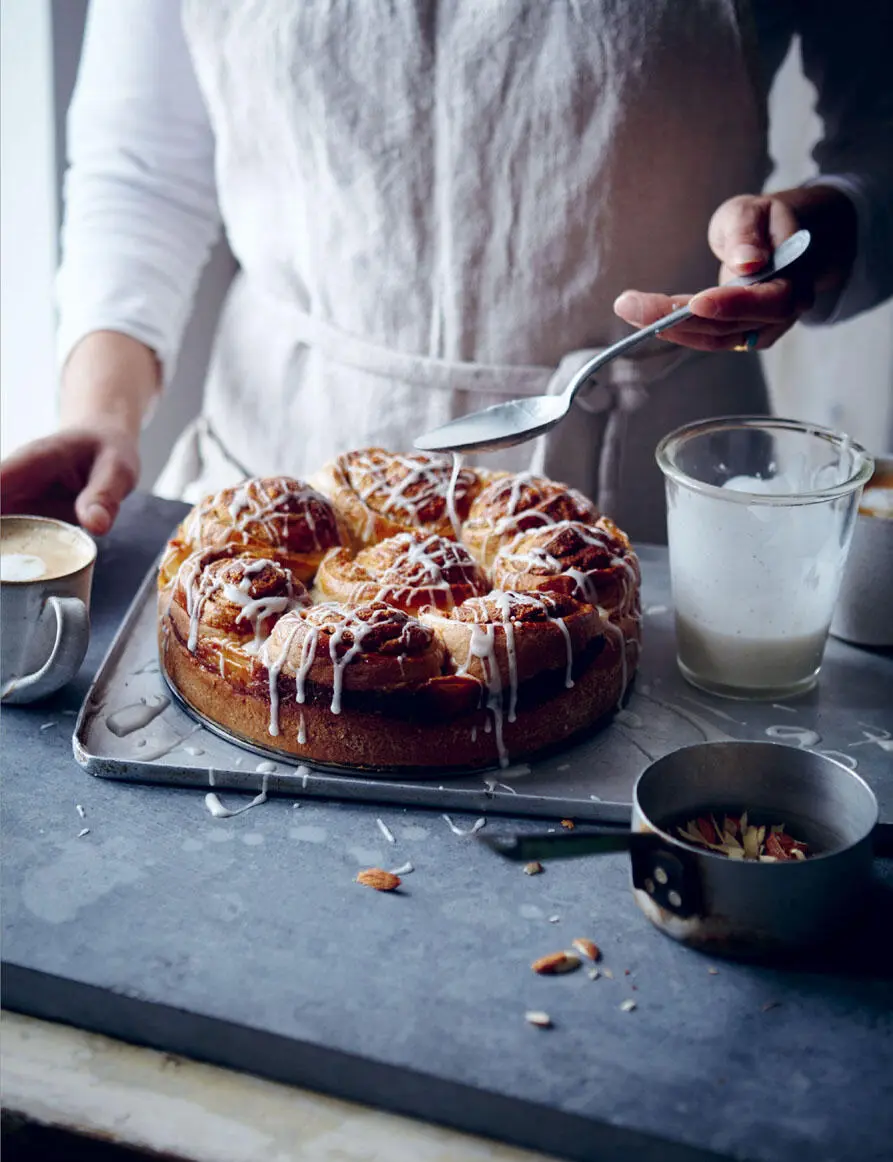
7. Once the dough is ready, tip it out of the bowl on to a floured work surface. Cut off one-third of the dough and cover the remaining dough with a clean tea towel. Roll the small piece of dough into a 25cm (10in) circle and put it into the base of the tin. Spread about 3 tablespoons of the almond paste over the dough to cover it, then top it with the custard, forming an even layer.
8. Roll out the remaining dough to a 28 × 40cm (11¼ × 16in) rectangle. Cover this with the remaining almond paste, then roll it up from the long side. Cut the roll evenly into 8 slices. Put one slice in the centre of the custard layer, cut-side up, then put the remaining swirls around the edge.
9. Cover the tin with cling film and leave to rise for 45 minutes or until light, puffy and doubled in size; when you gently press some dough with a floured finger the dent should remain. Preheat the oven to 180°C (350°F) Gas mark 4.
10. Beat the remaining egg with a pinch of salt and use to brush the cake, then bake for 30 minutes. Reduce the oven temperature to 160°C (315°F) Gas mark 2½ and bake for 20 minutes or until golden brown. Take the cake out of the oven and leave the oven on. Put the almonds on the baking tray and roast for 8–10 minutes until golden. Leave to cool.
11. Leave the cake in the tin on a wire rack to cool for 20 minutes, covered with a clean tea towel, then carefully run a small, sharp knife around the edges to free the cake from the tin, and unclip the sides. Turn it upside down to remove the tin base and the paper, then put it on a serving plate to finish cooling. Slice the cooled almonds coarsely.
12. To make the icing, sift the icing sugar and cardamom into a bowl. Add enough boiling water to make an icing the consistency of thick fresh double cream. Once the cake is cool, drizzle the icing backwards and forwards over the top of the cake in a zigzag pattern, then immediately scatter the toasted almonds over the top. Serve.
Coffee and cardamom cake
I absolutely adore cardamom, and there’s something about its aromatic, smoky flavour that goes so well with coffee. I have paired them here in this luxurious cake, finished with a creamy mascarpone icing and toasted pistachio nuts.
Serves 8–10
175g (6oz) butter, softened, plus extra for greasing
175g (6oz) plain flour
175g (6oz) caster sugar
3 eggs, beaten
1 tsp ground cardamom
1 tsp baking powder
1 tbsp instant coffee powder
25g (1oz) pistachio nuts, toasted and chopped
For the coffee icing
250g (9oz) mascarpone
3 tbsp icing sugar
2 tsp instant coffee powder
two 18cm (7in) cake tins
1. Preheat the oven to 180°C (350°F) Gas mark 4. Grease the base and sides of the tins, and dust the sides lightly with flour, then line the bases with baking parchment. Put the butter in a large bowl and cream it with a wooden spoon until soft, or use an electric beater on slow or a food processor. Add the sugar and beat until the mixture is light and fluffy. Gradually add the eggs to the creamed mixture, beating constantly. Sift in the flour, cardamom, baking powder and coffee powder, and fold in gently to mix.
2. Divide the batter between the two prepared tins, making a slight hollow in the centres so that the cakes will rise with a flat top. Bake for 20 minutes or until well risen, golden brown and springy to the touch.
3. Remove from the tins and leave on a wire rack to cool completely. Meanwhile, to make the icing, put the mascarpone in a bowl and sift in the icing sugar and coffee powder, then mix well to combine.
4. Put one of the cakes upside down on a plate, then spread over half the icing. Put the other cake, right-side up, on top of the filling, then spread with the remaining icing. Scatter the toasted pistachio nuts over the top.
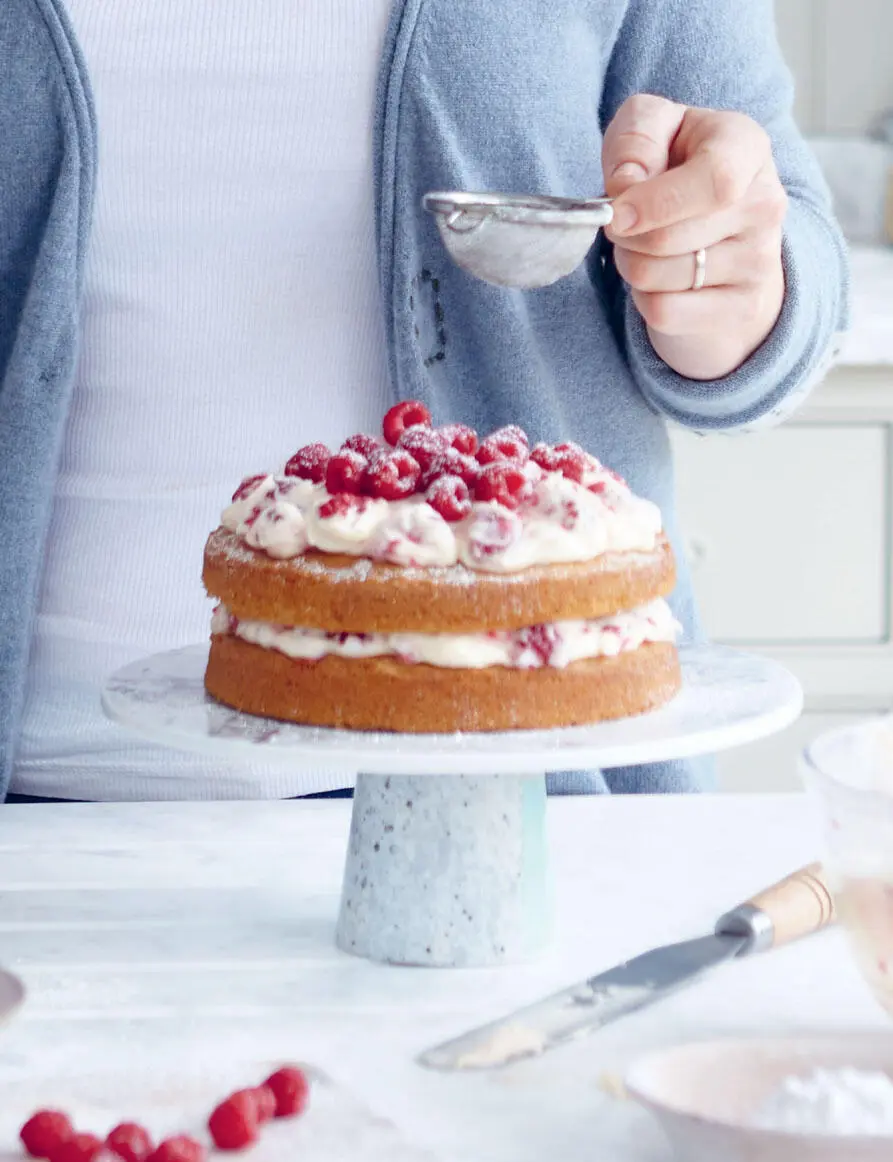
Gingerbread cake with raspberries
Based on a classic Victoria sponge, this beautiful cake has the added twist of warm spices. It makes a great layered cake for an occasion, piled high with sweet summer raspberries.
Serves 8
175g (6oz) butter, softened, plus extra for greasing
175g (6oz) plain flour, plus extra for dusting
175g (6oz) soft light brown sugar
3 eggs, lightly beaten
1 tsp baking powder
1 tsp ground cinnamon
1 tsp ground ginger
a pinch of ground cloves
¼ tsp ground cardamom
1 tbsp milk
125g (4½oz) raspberries
For the icing
125g (4½oz) butter, softened
125g (4½oz) cream cheese
275g (10oz) icing sugar
125g (4½oz) raspberries
two 18cm (7in) sandwich tins
1. Preheat the oven to 180°C (350°F) Gas mark 4. Grease the sides of the tins, and dust lightly with flour, then line the bases with baking parchment. Put the butter in a large bowl and cream it with a wooden spoon until soft, or use an electric beater on slow or a food processor. Add the sugar and beat until the mixture is light and fluffy.
2. Gradually add the eggs to the butter mixture, beating constantly. Sift in the flour with the baking powder, cinnamon, ginger, cloves and cardamom. Add the milk and fold in gently to mix.
3. Divide the mixture between the prepared tins and bake for 18–25 minutes, until golden on top and springy to the touch. Leave to cool in the tins on a wire rack for 10 minutes, then loosen around the edge of each cake using a small, sharp knife and carefully remove them from the tins. Leave the cakes on a wire rack to cool completely.
4. To make the icing, put the butter in a bowl or a food processor and add the cream cheese and icing sugar. Cream, or beat, until well combined and soft. Add the raspberries and gently mix together until incorporated.
5. Spread half the icing over the top of one cake and put the other cake on top. Spread the remaining icing on top of the cake. Decorate the iced cake with the raspberries, then serve.
Orange kugelhopf
I love my kugelhopf baking tin – it makes such grand, stately-looking cakes with very little effort! But, even if you don’t have one, don’t let that put you off trying this delicious orangey cake, because a 23cm (9in) springform cake tin will make a perfectly lovely cake, too. Drizzled with icing and sprinkled with pistachio nuts, it makes a great celebration cake.
Serves 10–12
225ml (8fl oz) sunflower oil, plus extra for greasing
325g (11½oz) plain flour, plus extra for dusting
1½ tsp baking powder
1½ tsp salt
400g (14oz) caster sugar
4 eggs
325ml (11½fl oz) milk
zest of 1 orange
25g (1oz) pistachio nuts, lightly toasted and chopped
For the icing
125ml (4½fl oz) crème fraîche
100g (3½oz) icing sugar, sifted
zest of 1 orange
23cm (9in) bundt tin or a 23cm (9in) cake tin with at least 4cm (1½in) sides
Читать дальшеИнтервал:
Закладка:
Похожие книги на «Home Baking»
Представляем Вашему вниманию похожие книги на «Home Baking» списком для выбора. Мы отобрали схожую по названию и смыслу литературу в надежде предоставить читателям больше вариантов отыскать новые, интересные, ещё непрочитанные произведения.


Обсуждение, отзывы о книге «Home Baking» и просто собственные мнения читателей. Оставьте ваши комментарии, напишите, что Вы думаете о произведении, его смысле или главных героях. Укажите что конкретно понравилось, а что нет, и почему Вы так считаете.