Table 7-7summarizes the commands for editing in picture mode.
Table 7-7. Picture mode commands
| Keystrokes |
Command name |
Action |
| ( none ) |
picture-modeor edit-picture |
Enter picture mode. |
| C-c C-c |
picture-mode-exit |
Exit picture mode and return to the previous mode. |
| C-c ^ |
picture-movement-up |
Set the default drawing direction to up. |
| C-c . |
picture-movement-down |
Set the default drawing direction to down. |
| C-c > |
picture-movement-right |
Set the default drawing direction to right. |
| C-c < |
picture-movement-left |
Set the default drawing direction to left. |
| C-c ` |
picture-movement-nw |
Set the default drawing direction to northwest. |
| C-c ` |
picture-movement-ne |
Set the default drawing direction to northeast. |
| C-c / |
picture-movement-sw |
Set the default drawing direction to southwest. |
| C-c \ |
picture-movement-se |
Set the default drawing direction to southeast. |
| C-c C-f |
picture-motion |
Move the cursor forward in the default drawing direction. |
| C-c C-b |
picture-motion-reverse |
Move the cursor backward in the default drawing direction. |
| C-f |
picture-forward-column |
Move the cursor to the right one character. |
| C-b |
picture-backward-column |
Move the cursor to the left one character. |
| C-n |
picture-move-down |
Move the cursor down one character. |
| C-p |
picture-move-up |
Move the cursor up one character. |
| C-d |
picture-clear-column |
Blank out the character under the cursor; doesn't move remaining text to the left. |
| C-c C-d |
delete-char |
Delete the character under the cursor and move the remaining text to the left. |
| C-k |
picture-clear-line |
Delete the text on the current line; the line is not deleted if used twice. |
| C-o |
picture-open-line |
Insert a blank line. |
C-c C-w r |
picture-clear-rectangle-to-register |
Clear the rectangle and save it in register r . |
C-u C-c C-w r |
picture-clear-rectangle-to-register |
Delete the rectangle and save it in register r . |
C-c C-x r |
picture-yank-rectangle-from-register |
Insert the rectangle saved in register r at the cursor position. |
| C-c C-r |
picture-draw-rectangle |
Draw a rectangle around current region. |
| C-c C-y |
picture-yank-rectangle |
Paste rectangle. |
| C-c C-k |
picture-clear-rectangle |
Erase rectangle. |
| C-c Tab |
picture-set-tab-stops |
Set tab stops applicable only in picture mode (!, -, and ~ denote tab stops by default). |
| M-Tab |
picture-tab-search |
Move to the next picture mode tab. |
7.6.3 Drawing with the Mouse Using Artist
We would be remiss if we didn't introduce you to artist mode, an easy way to create ASCII art using the mouse. (You can also use keyboard commands, but trust us—you won't want to.)
Artist mode is a minor mode related to picture mode, so you use them together. For example, you might draw using artist mode, then edit the picture in picture mode. Or you might choose to use artist mode alone for your creations.
We're going to give you a taste of artist mode; you can perfect your skills in your spare time. When you start artist mode, picture mode starts automatically.
Type: M-x artist-mode
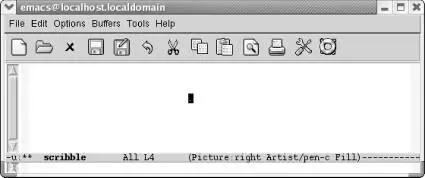
Artist appears on the mode line, as does Picture.
When you start artist mode, pen drawing is selected by default.
Hold down the left mouse button and move around to scribble.
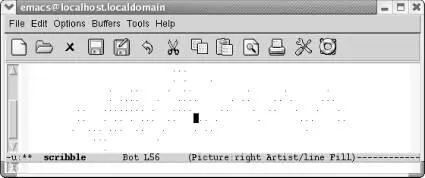
A random scribble.
With the pen, you can draw freestyle. Hold down the middle mouse button and a menu appears, with Drawing, Edit, and Settings submenus. The Drawing menu offers a variety of shapes from which to choose. Now that we've scribbled, let's create some graffiti using the spray can.
Select Spray Can from the Drawing menu, then spray the screen by holding down the left mouse button and moving the mouse.
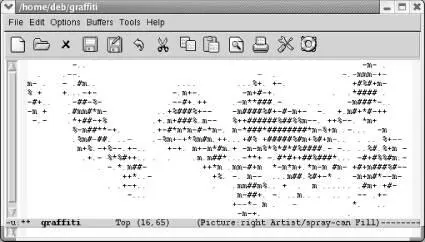
A random spray.
We aren't going to go deep into artist mode, but we would like to give you a flavor of the basic drawing choices. You can draw rectangles (our personal favorite), ellipses, lines (which strive to be straight), and poly-lines (which strive to be polygon-angular). Figure 7-6shows a representative sample of shapes. With practice, you can create complex drawings and edit them, either using the mouse or using standard picture mode commands.
Figure 7-6. A representative sample of artist shapes
For rectangles, lines, and ellipses, hold down the left mouse and pull them to the size and, in the case of lines, angle you prefer. (Ellipses are made of straight lines, so use your imagination; this is ASCII art after all.) For poly-lines, draw a line by holding down the left mouse button, then release it. Move the mouse away from that line to the next corner of the polygon and click. Emacs draws a line connecting the two points. Poly-lines allow you to create polygons quickly.
Table 7-8provides an overview of artist commands. Artist works very well with the mouse and the middle-button mouse menu; if you're mouse-averse, you'll prefer picture mode.
Table 7-8. Artist mode commands
| Keystrokes |
Command name |
Action |
| ( none ) |
artist-mode |
Enter artist mode. |
| C-c C-c |
artist-mode-off |
Exit artist mode. |
| C-f |
artist-forward-char |
Move to the right one character (at end of line, keep adding characters to current line). |
| C-b |
artist-backward-char |
Move to the left one character (at beginning of line, does nothing). |
| C-n |
artist-next-line |
Move down a column (at end of buffer, keep adding lines to the buffer). |
| C-p |
artist-previous-line |
Move up a column (at first line of buffer moves to first position in file, then does nothing). |
| C-c C-a C-o or Mouse-2 |
artist-select-operation |
Select an operation (press Tab to see a list). |
| C-c C-a f` Artist menu → Edit → Flood-fill |
artist-select-op-flood-fill |
Select flood fill as the operation. |
| C-c C-a C-k Artist menu → Edit → Cut |
artist-select-op-cut-rectangle |
Draw a rectangle around an area, then cut. |
| C-c C-a M-w Artist menu → Edit → Copy |
artist-select-op-copy-rectangle |
Draw a rectangle around an area, then copy. |
| C-c C-a C-y Artist menu → Edit → Paste |
artist-select-op-paste |
Paste what you copied wherever you click the mouse. |
| C-c C-a v Artist menu → Drawing → Vaporize |
artist-select-op-vaporize-line |
Erase a line you select (literal line; not a line in the file). |
| C-c C-a C-d Artist menu → Drawing → Erase |
artist-select-op-erase-char |
Set operation to erase (use the mouse as your eraser). |
| C-c C-a S Artist menu → Drawing → Spray-can |
artist-select-op-spray-can |
Set operation to spray can. |
| C-c C-a e Artist menu → Drawing → Ellipse |
artist-select-op-ellipse |
Draw ellipses. |
| C-c C-a p Artist menu → Drawing → Poly-line |
artist-select-op-poly-line |
Draws poly-lines. |
| C-c C-a r Artist menu → Drawing → Rectangle |
artist-select-op-rectangle |
Draw rectangles. |
| C-c C-a l Artist menu → Drawing → Line |
artist-select-op-line |
Draw lines. |
| C-c C-a C-r Artist menu → Settings → Rubber banding |
artist-toggle-rubber-banding |
If on (the default), show shape while stretching; if not, mark end-points. |
| C-c C-a C-l Artist menu → Settings → Set Line |
artist-select-line-char |
Select character to use when drawing lines (- is the default). |
| C-c C-a C-f Artist menu → Settings → Set Fill |
artist-select-fill-char |
Select character to fill shapes with (Space is the default). |
7.6.4 Problems You May Encounter
Читать дальше
